
Pages
How to create and edit pages.
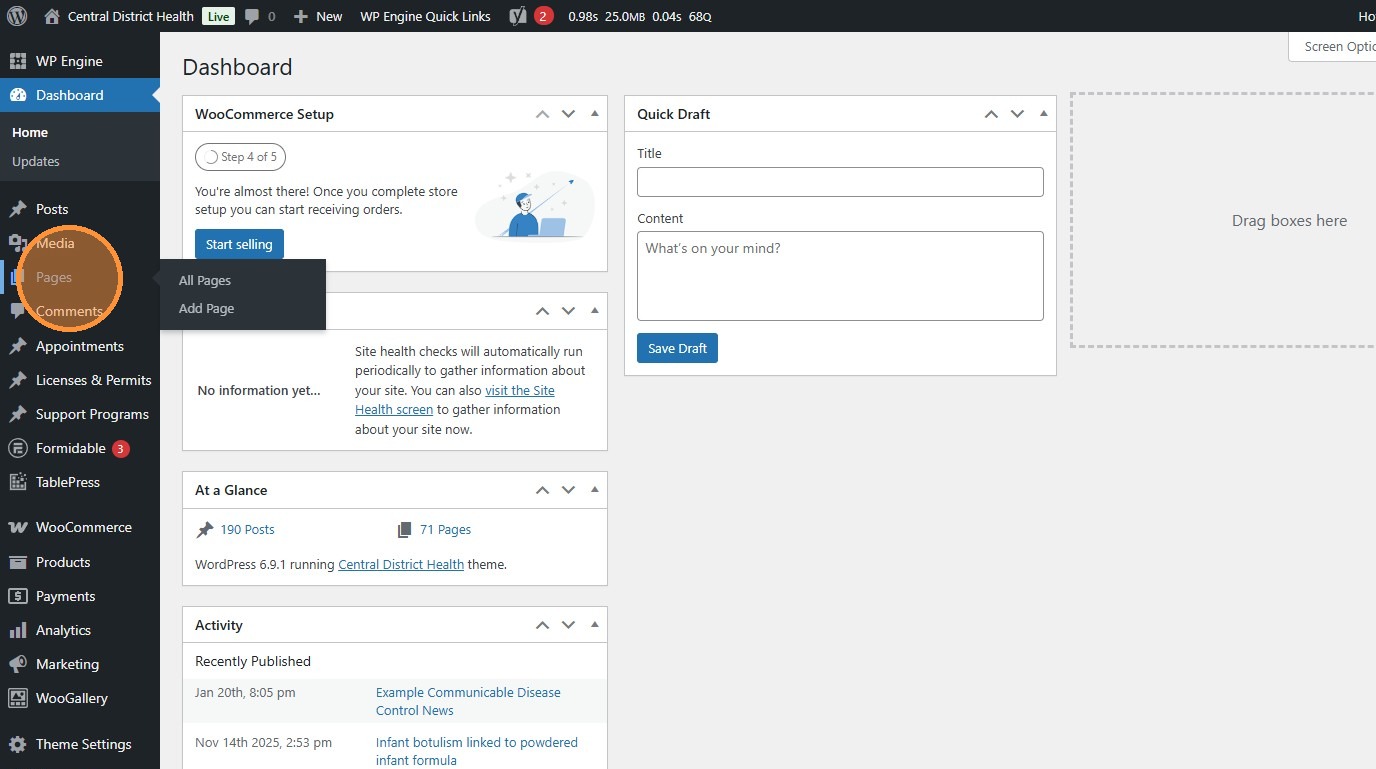
1. Navigate to https://cdh.idaho.gov/wp-admin/ and click “Pages”.\
Section titled “1. Navigate to https://cdh.idaho.gov/wp-admin/ and click “Pages”.\”
This is where you can edit all of the more complex pages on the site. This generally encompasses all URLs except those under News.
2. Click “Add Page” to create a new page…
Section titled “2. Click “Add Page” to create a new page…”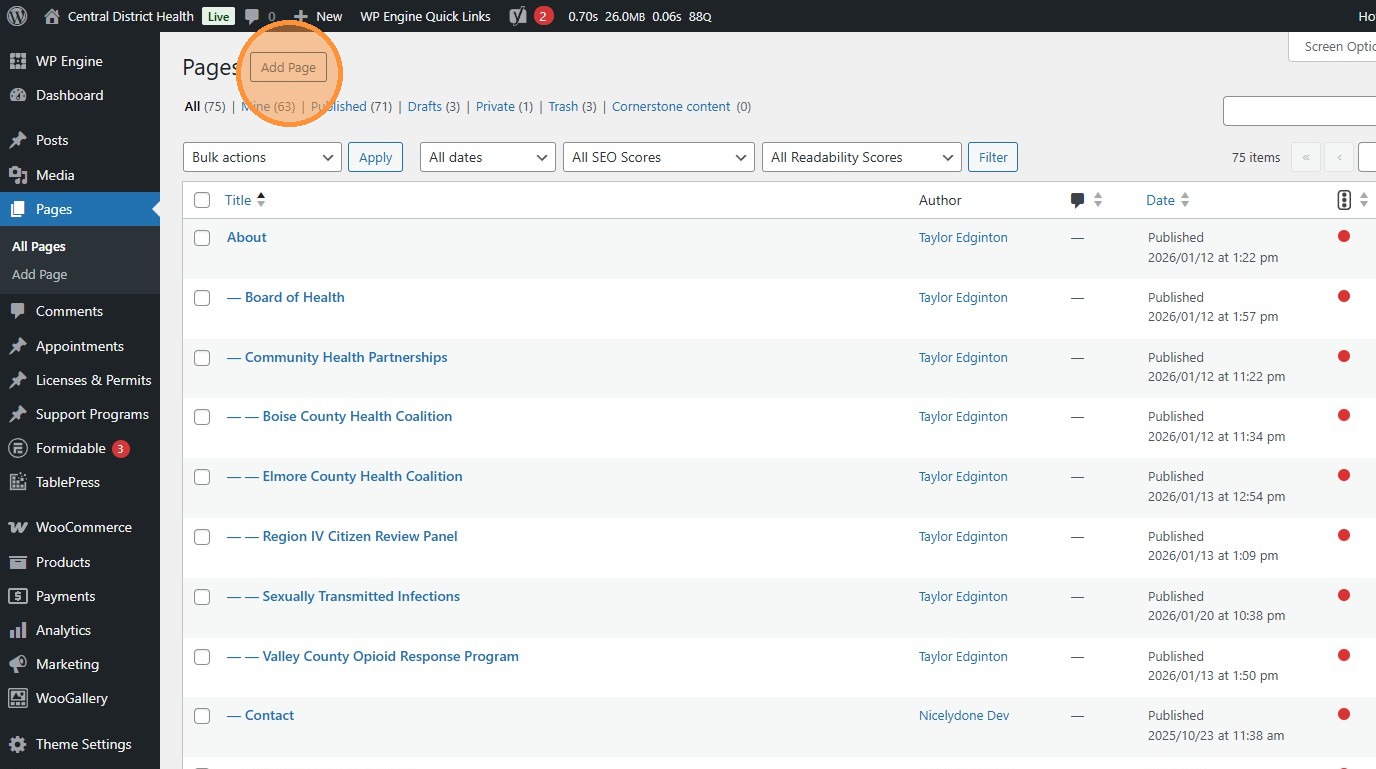
3. …or find an existing page to update and click “Edit”.
Section titled “3. …or find an existing page to update and click “Edit”.”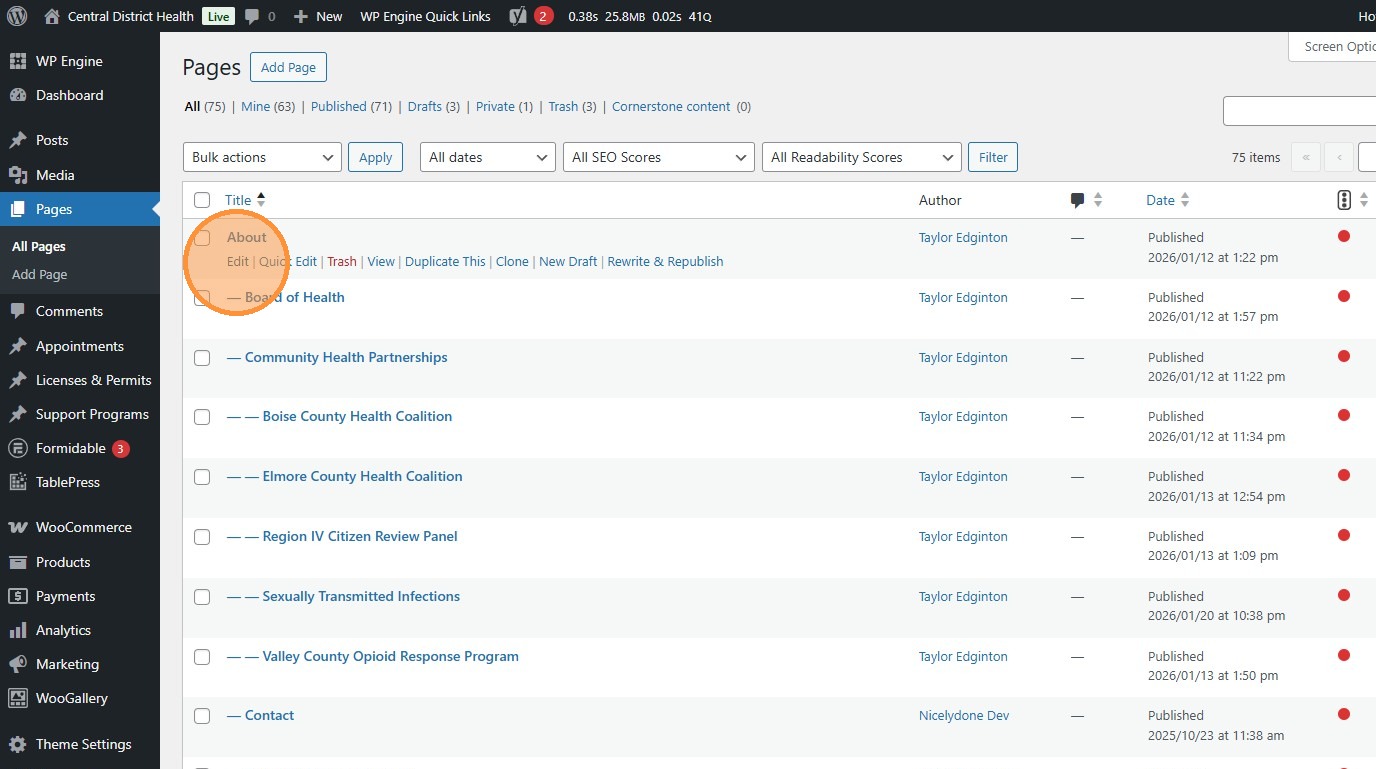
4. The main template on this site is called “Flexible Sections”. Use this option every time you make a page.
Section titled “4. The main template on this site is called “Flexible Sections”. Use this option every time you make a page.”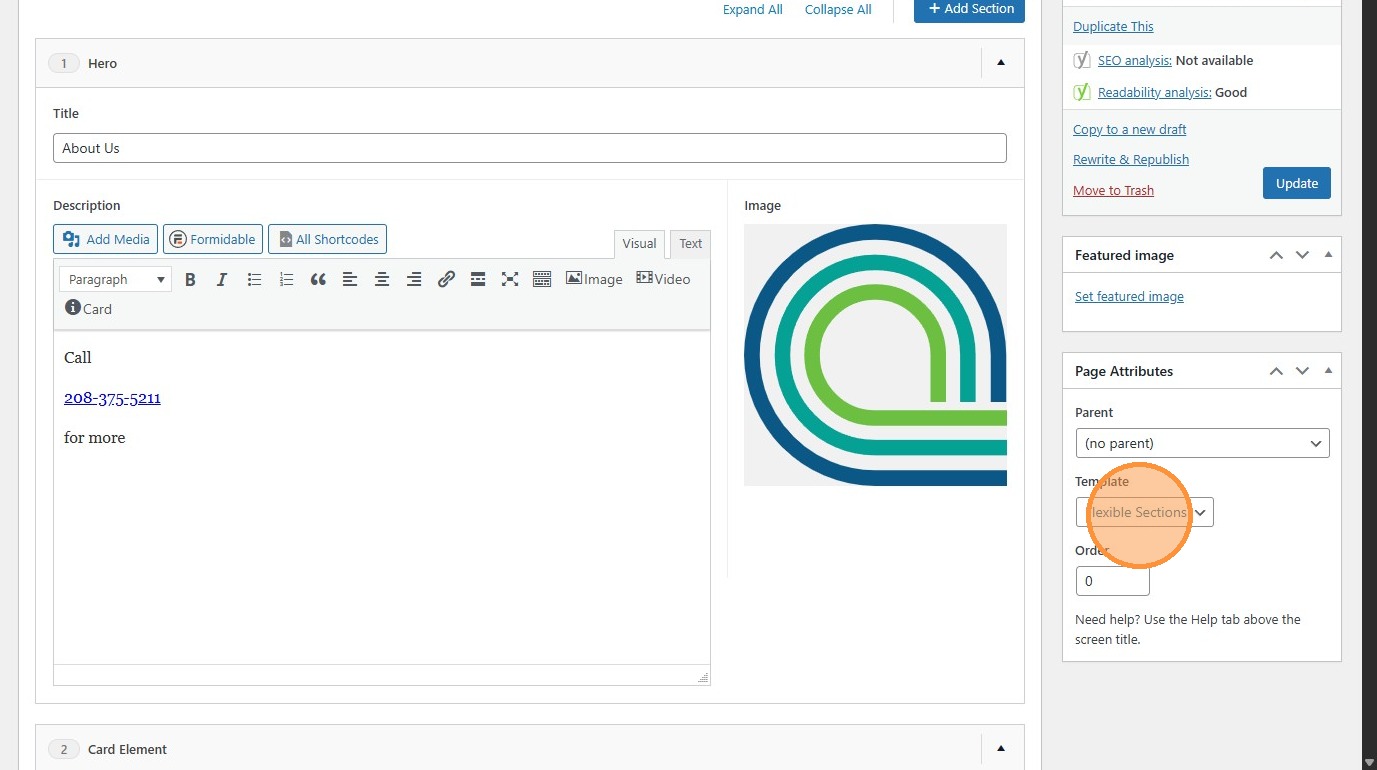
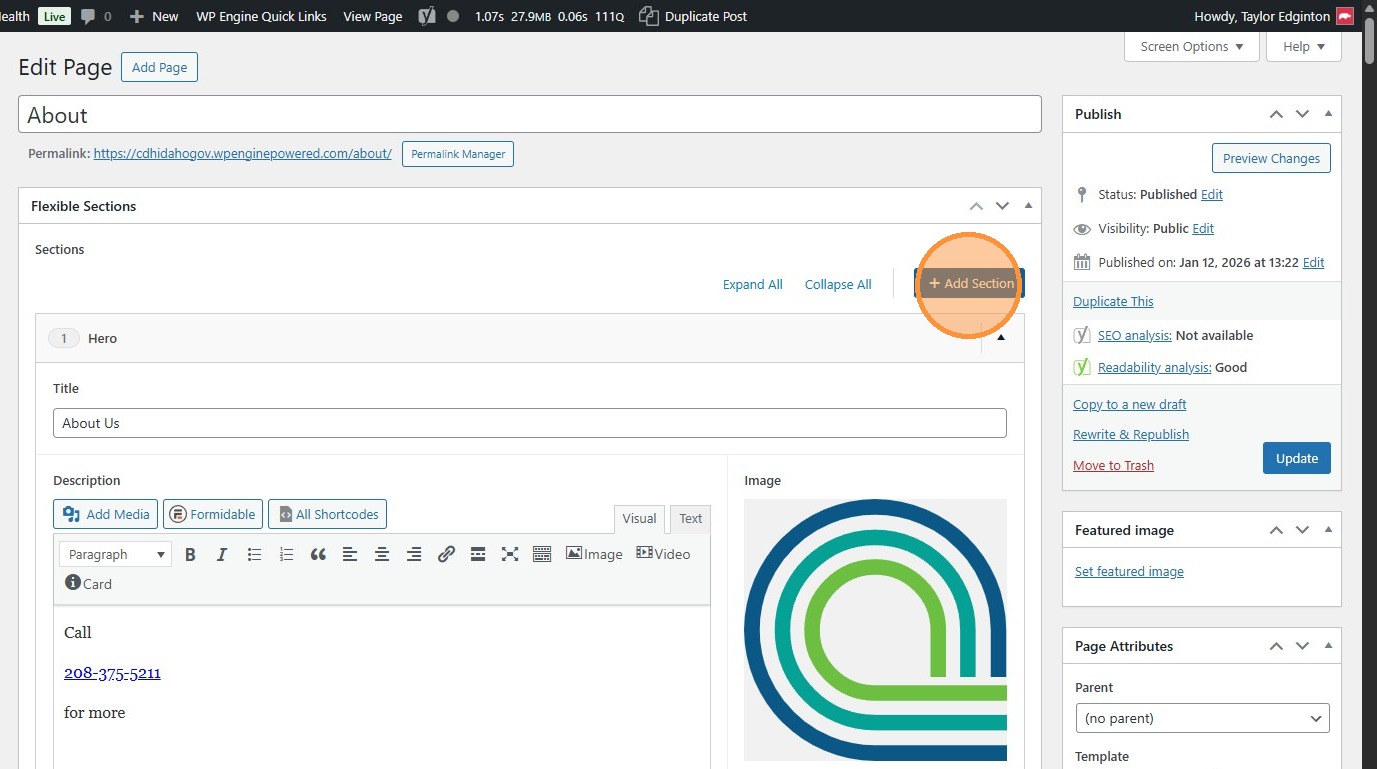
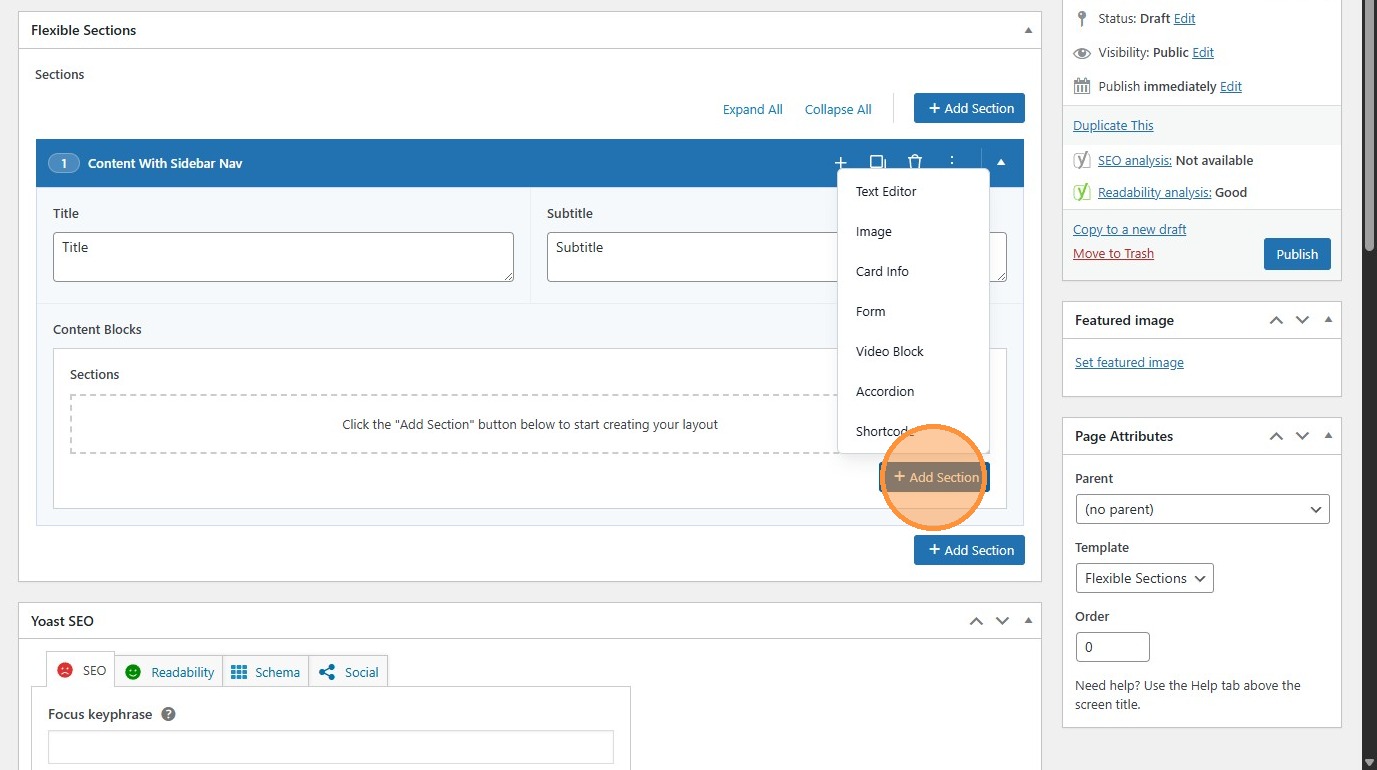
5. Click “Add Section” to create a new field. Pick the module you want from the list.
Section titled “5. Click “Add Section” to create a new field. Pick the module you want from the list.”Think of modules as “building blocks” for the website.
6. Click the arrow to collapse/expand individual modules. The “Expand/Collapse All” links change all modules at once.
Section titled “6. Click the arrow to collapse/expand individual modules. The “Expand/Collapse All” links change all modules at once.”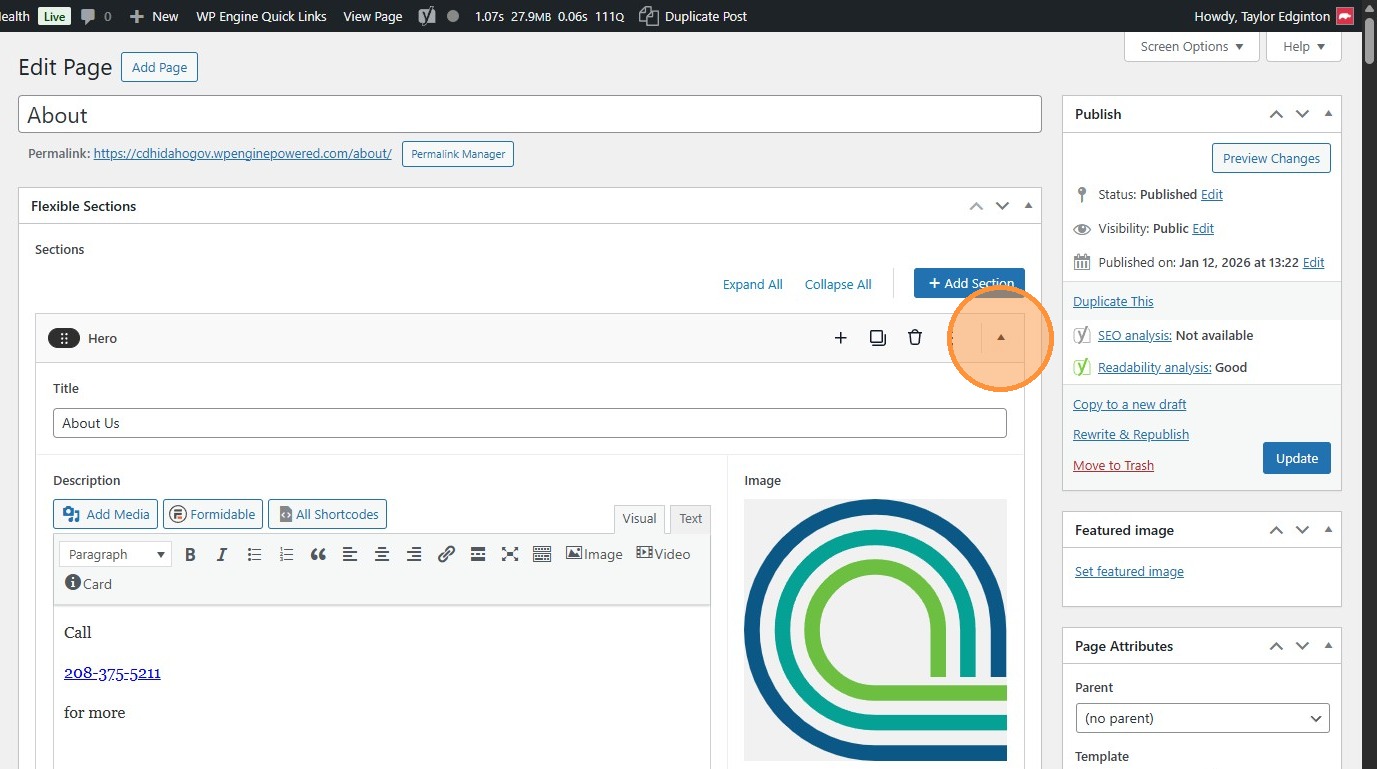
7. Click and drag modules to rearrange the order they appear on the page.
Section titled “7. Click and drag modules to rearrange the order they appear on the page.”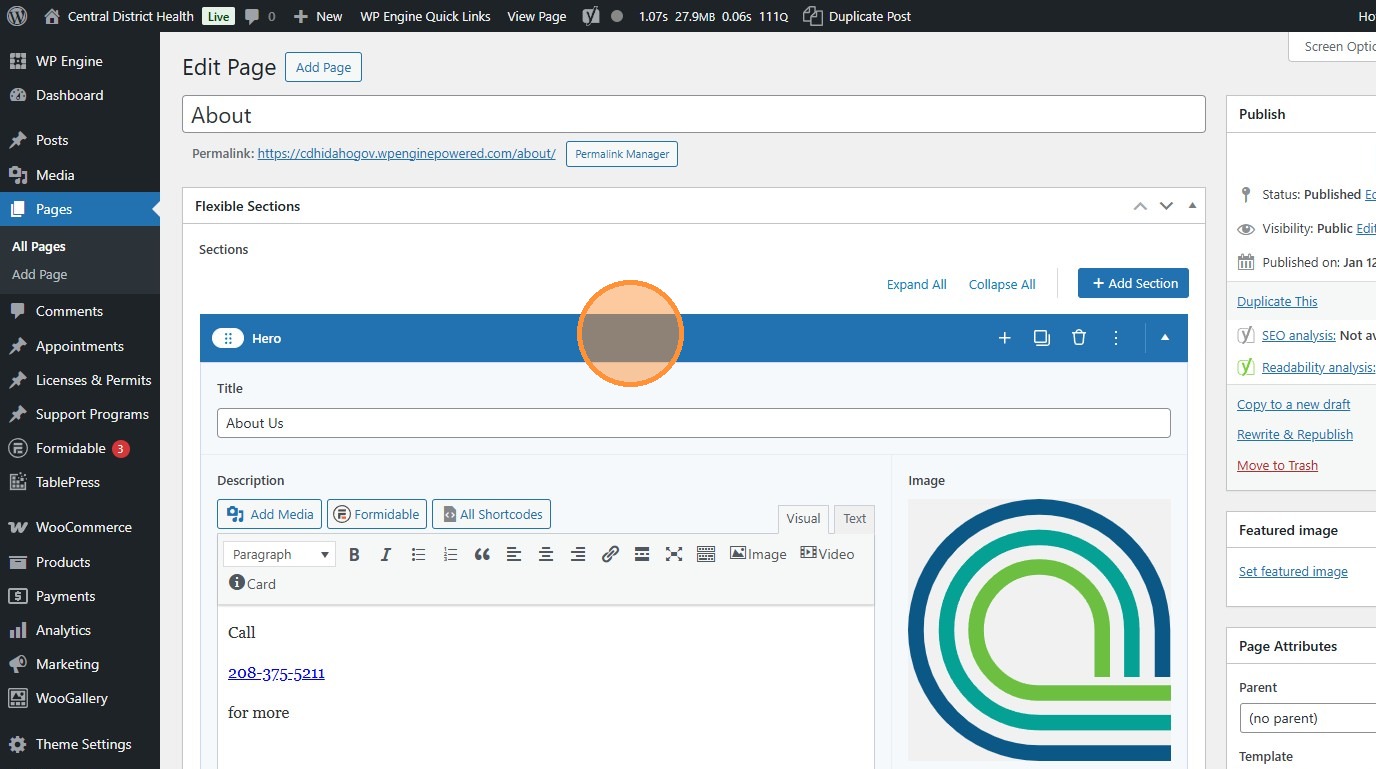
8. Click the trash can to delete a module.
Section titled “8. Click the trash can to delete a module.”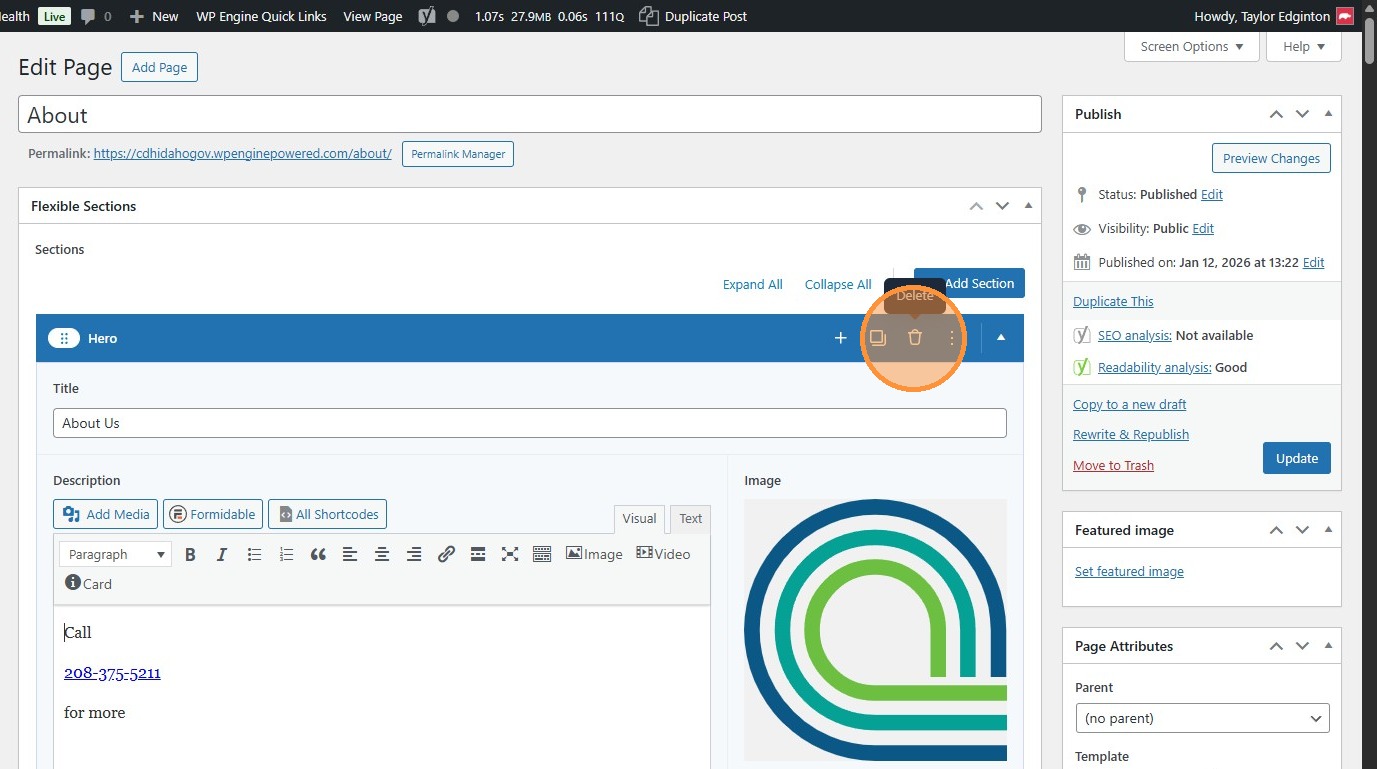
9. Change the fields in any module to change the content on the page.
Section titled “9. Change the fields in any module to change the content on the page.”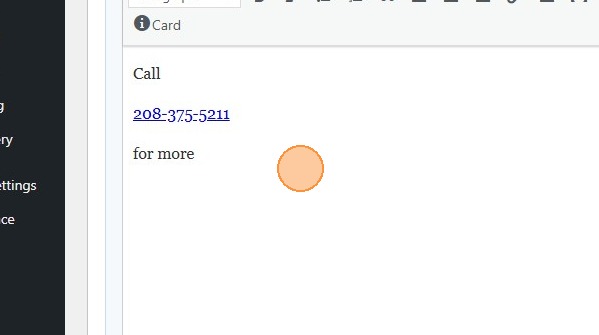
“Sidebar Navigation Section” Module
Section titled ““Sidebar Navigation Section” Module”10. Many pages that look like this are built with the “Sidebar Navigation Section” module…
Section titled “10. Many pages that look like this are built with the “Sidebar Navigation Section” module…”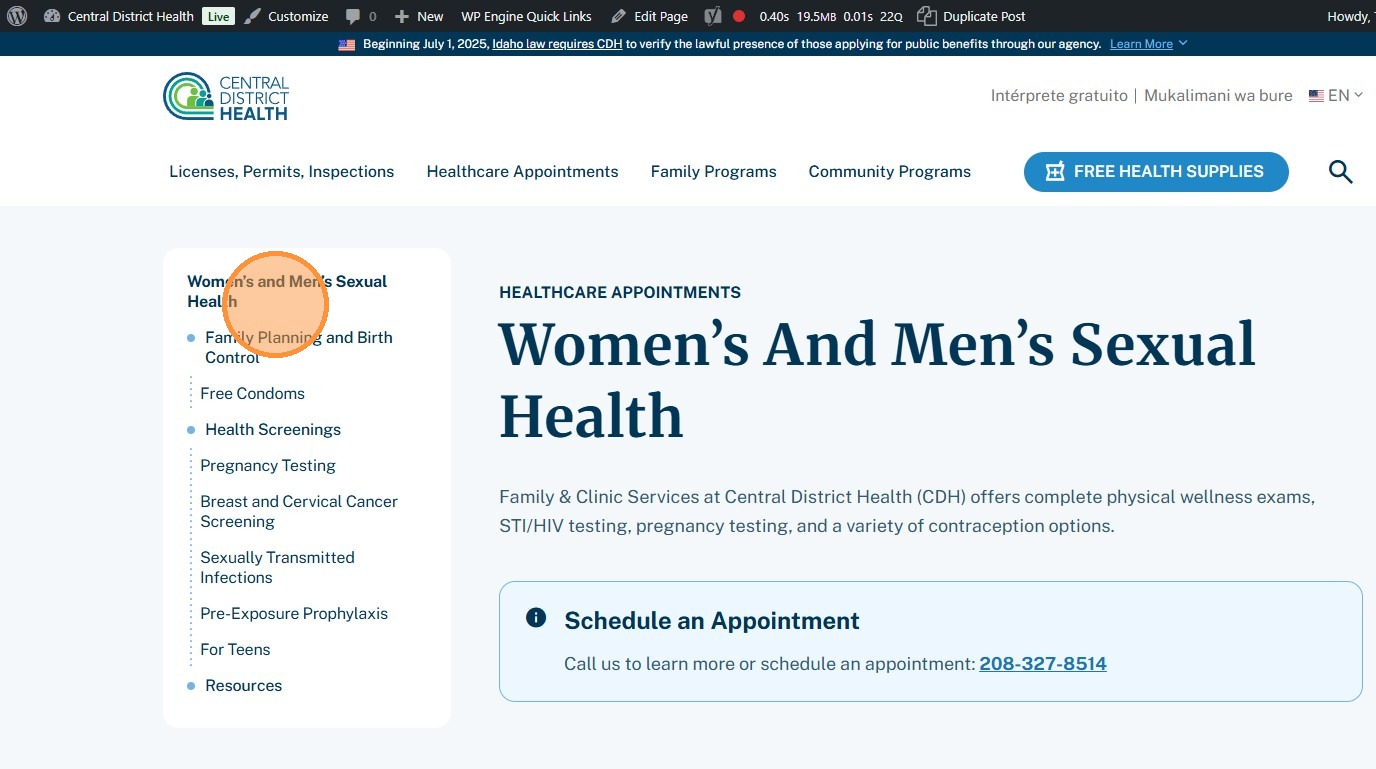
11. On the backend, that looks like this. Let’s walk through how it works.
Section titled “11. On the backend, that looks like this. Let’s walk through how it works.”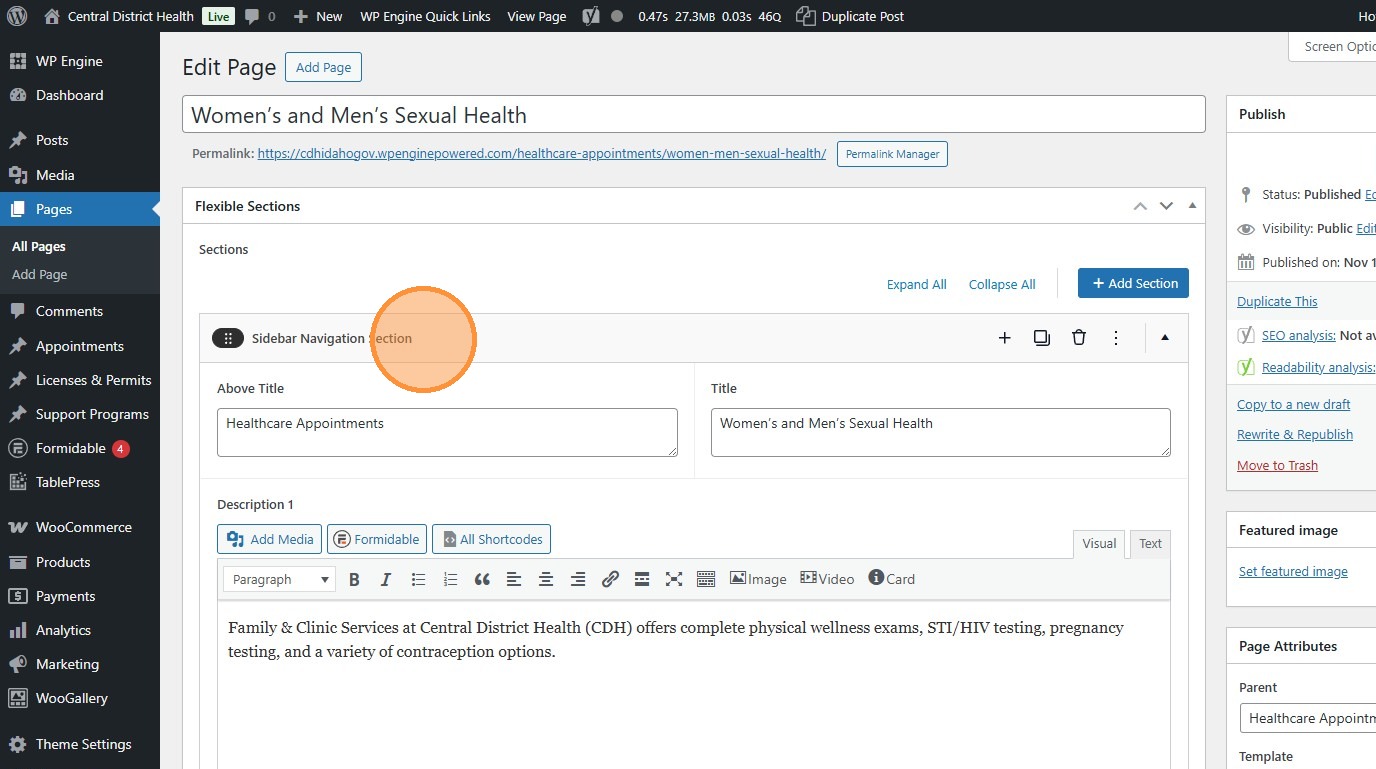
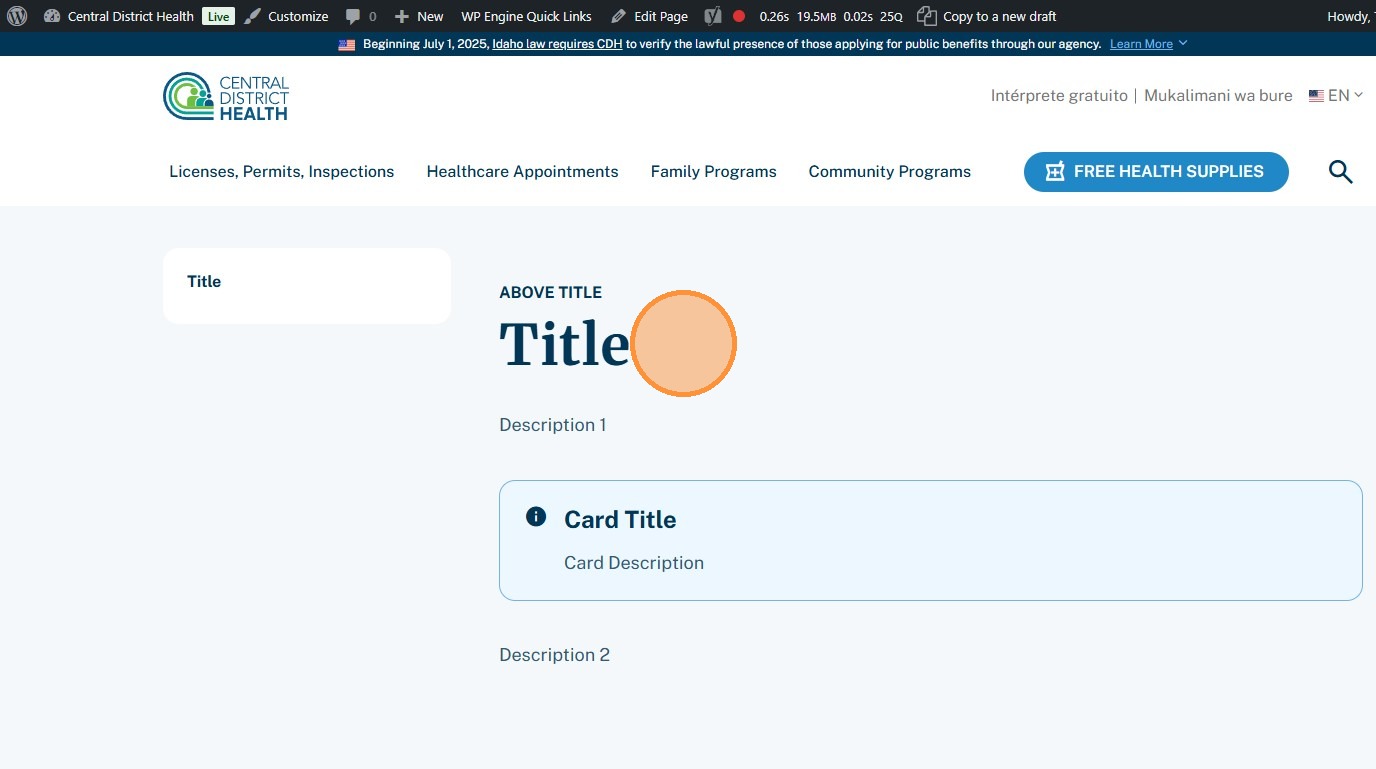
12. By default, these boxes will be shown. Use them boxes to add content at the top of the module.
Section titled “12. By default, these boxes will be shown. Use them boxes to add content at the top of the module.”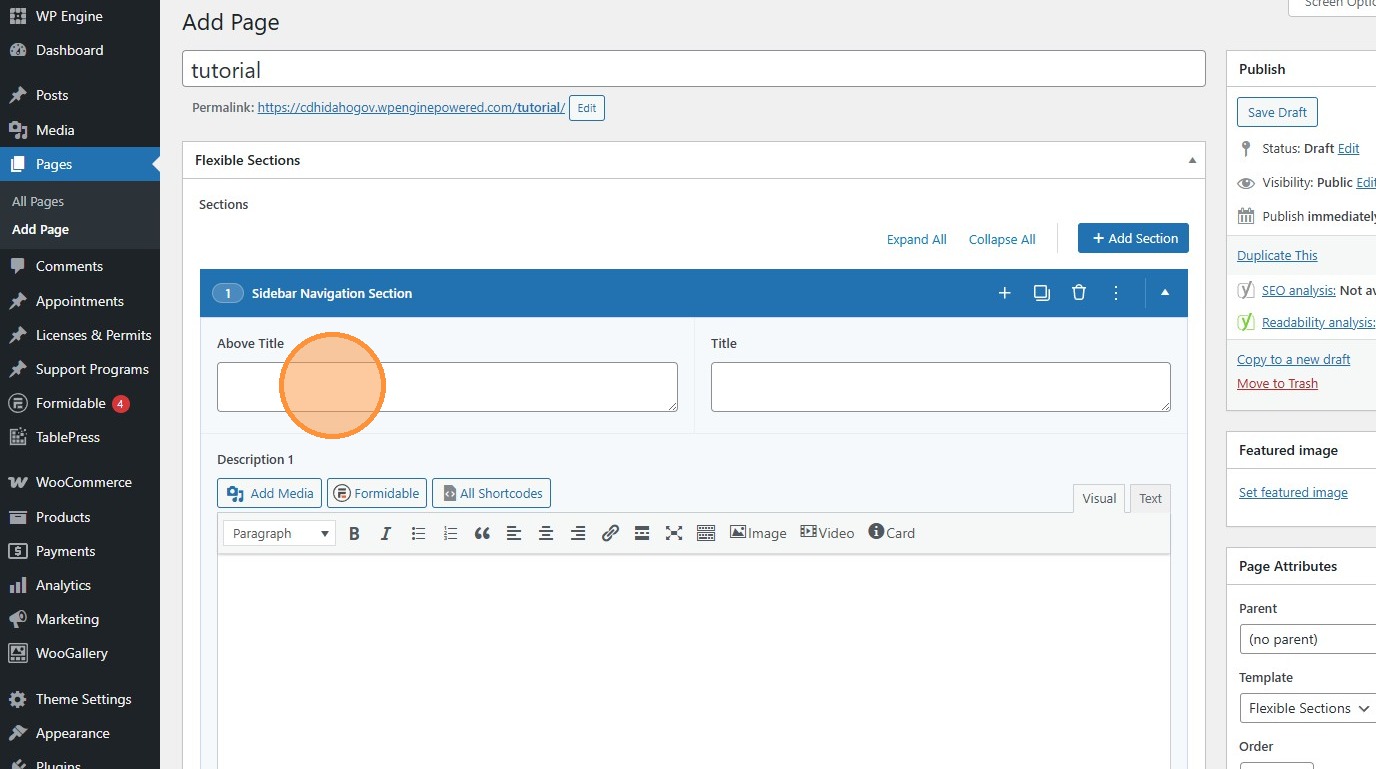
13. This is what they do on the front end.
Section titled “13. This is what they do on the front end.”Leaving any blank will mean it doesn’t display. This is especially useful for the Card.
14. Click “Add Row” to create a bullet point.
Section titled “14. Click “Add Row” to create a bullet point.”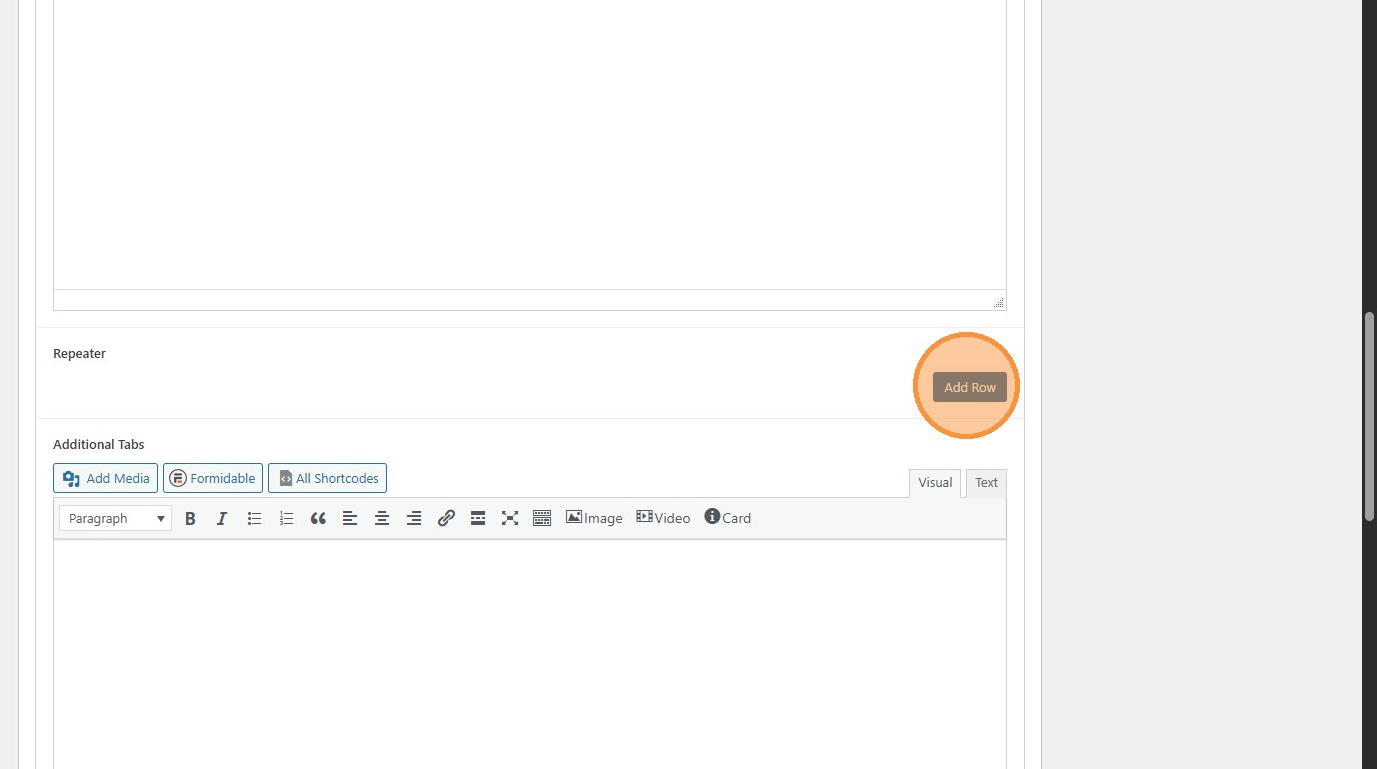
15. The bullets appear here.
Section titled “15. The bullets appear here.”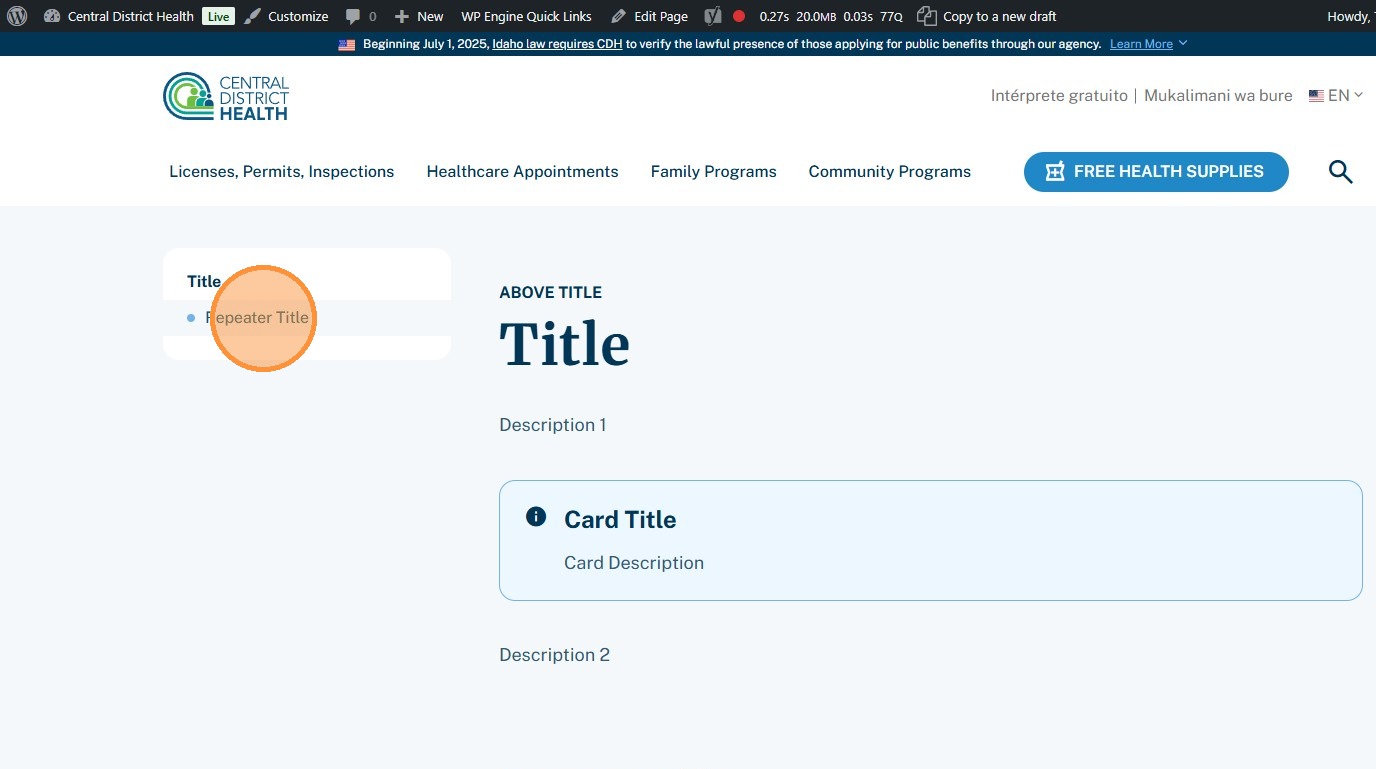
16. Click the outside “Add Row” button to add another bullet below it.
Section titled “16. Click the outside “Add Row” button to add another bullet below it.”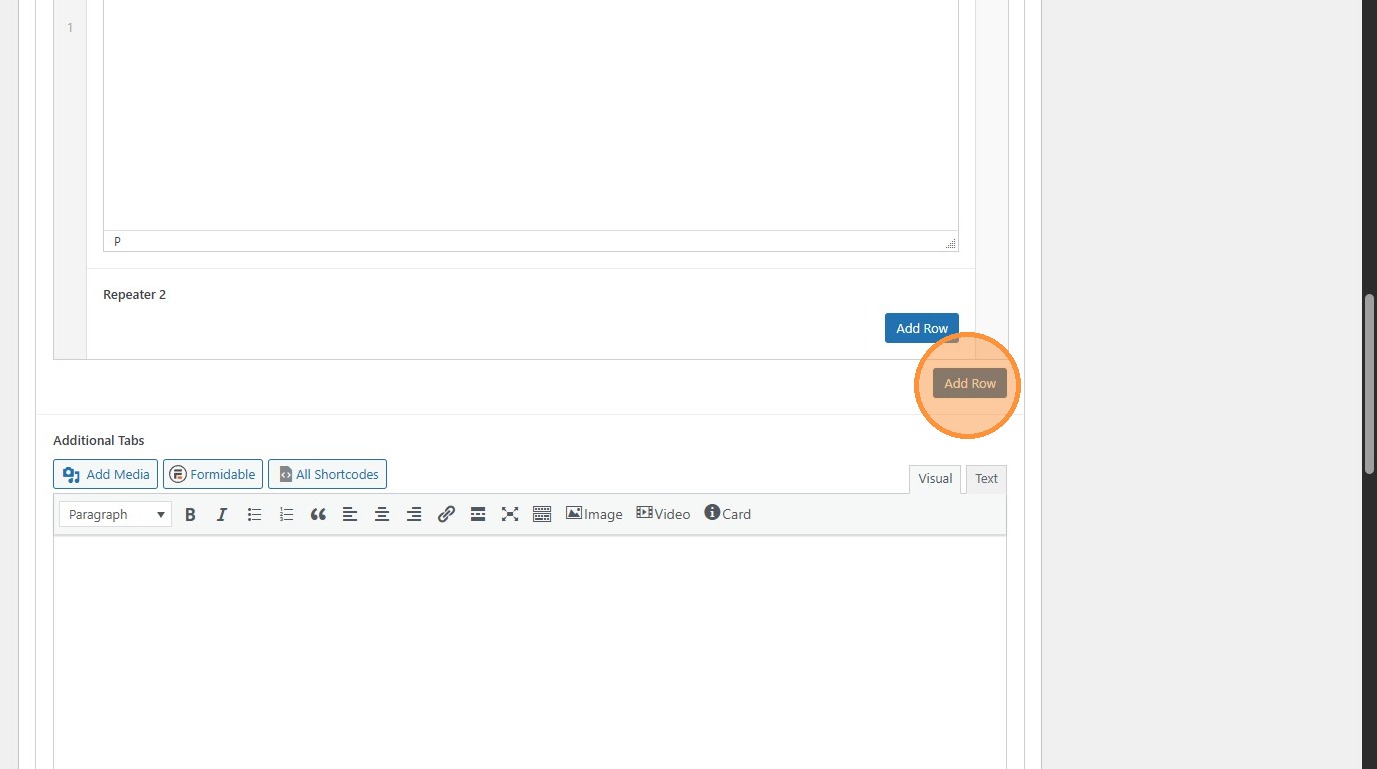
17. Click the inside “Add Row” button to add a sub-bullet.
Section titled “17. Click the inside “Add Row” button to add a sub-bullet.”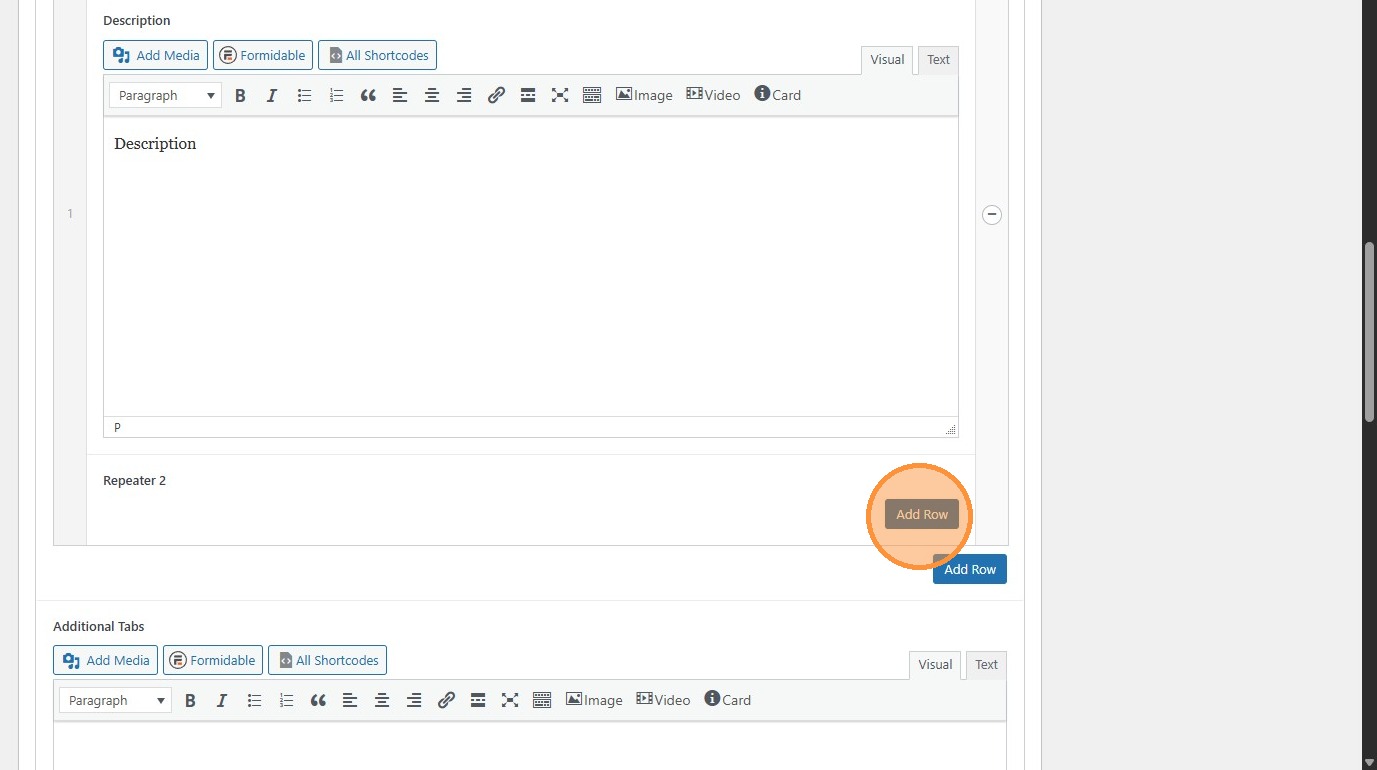
18. Sub-bullets look like this.
Section titled “18. Sub-bullets look like this.”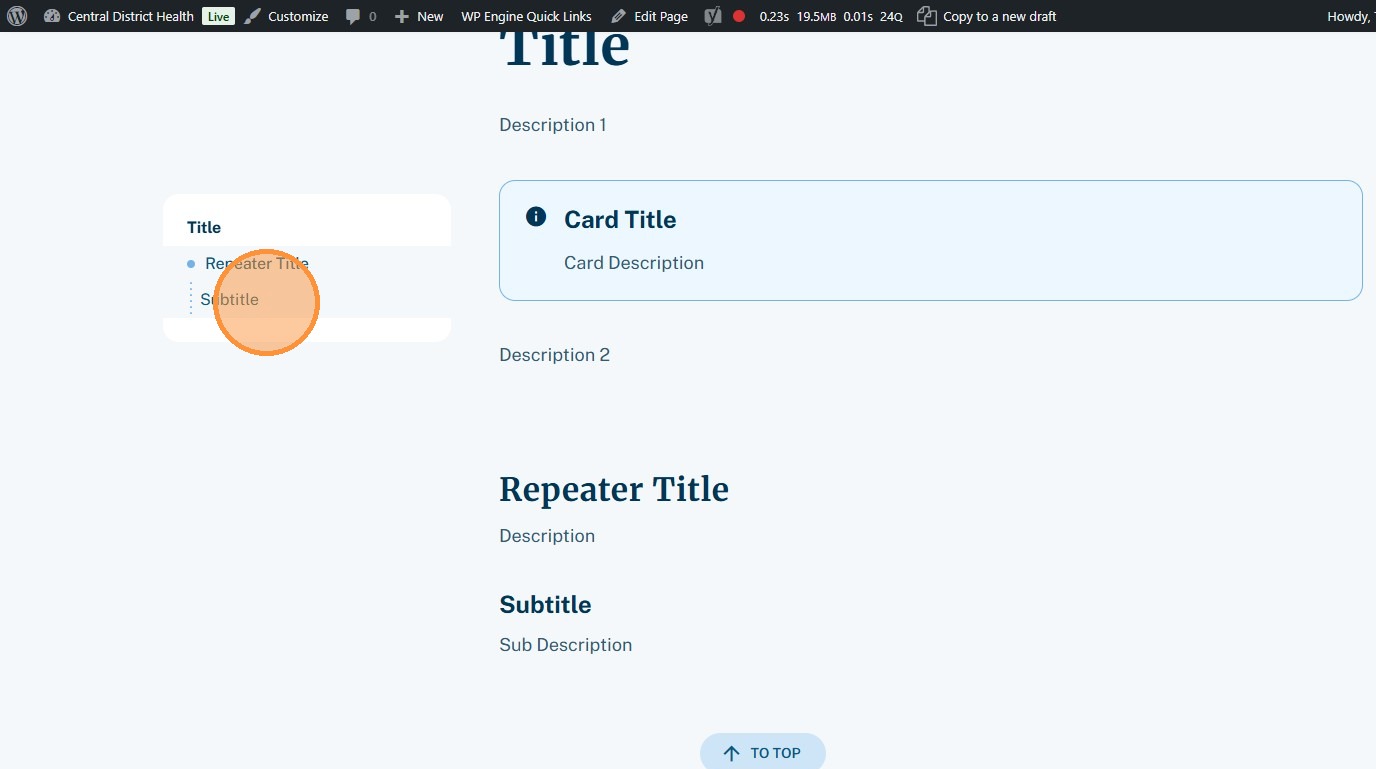
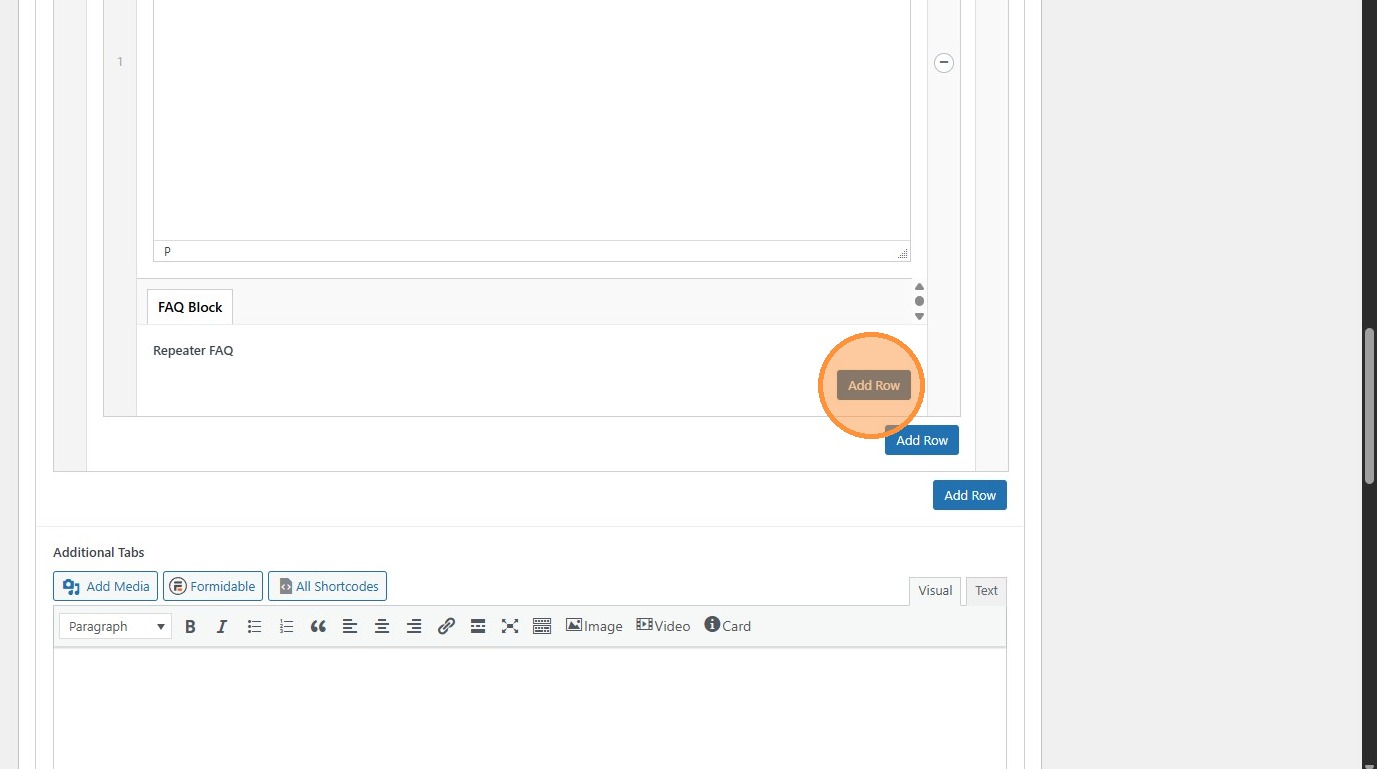
19. Within a sub-bullet, you can add FAQ blocks.
Section titled “19. Within a sub-bullet, you can add FAQ blocks.”If you want only FAQ blocks, you can create a bullet + sub-bullet and leave them both empty.
20. FAQs look like this.
Section titled “20. FAQs look like this.”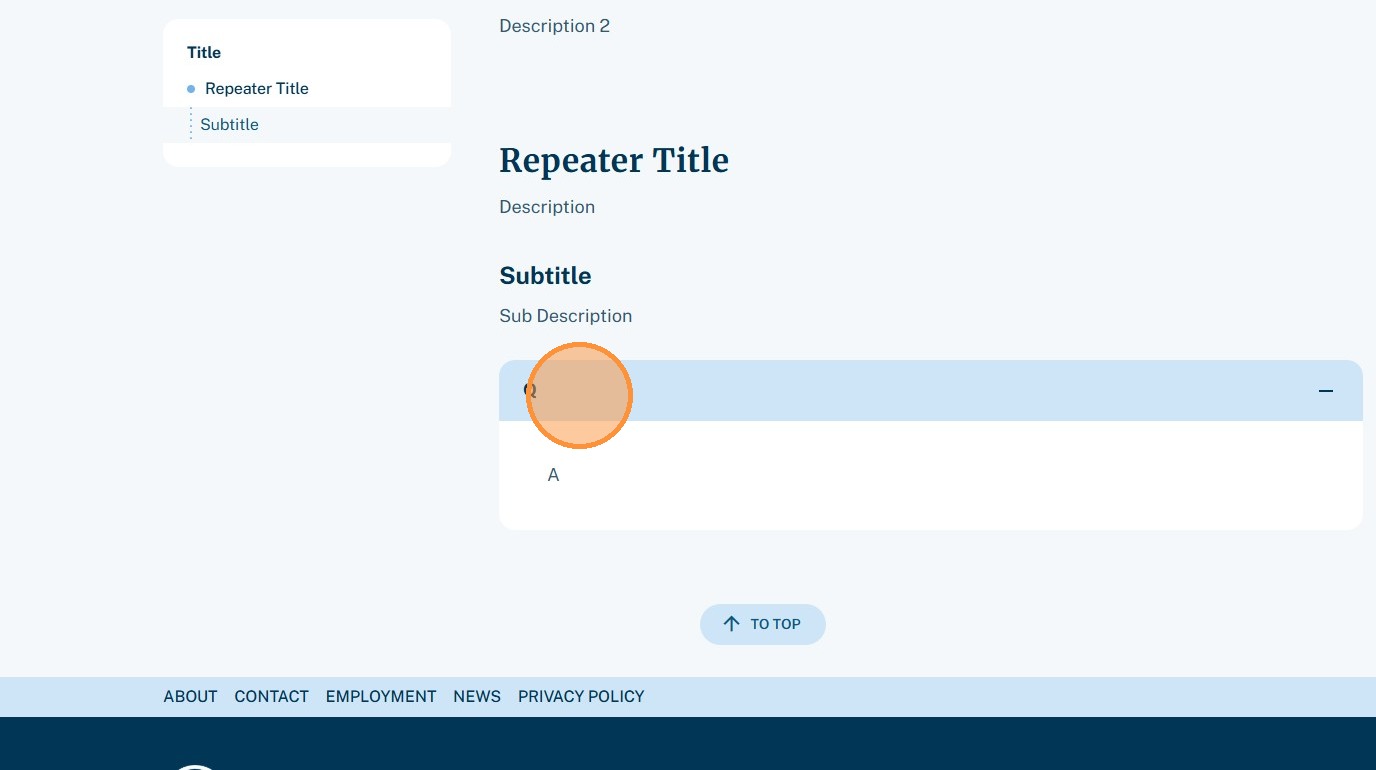
“Content With Sidebar Nav” Module
Section titled ““Content With Sidebar Nav” Module”21. Some, generally more complex, pages are built with the “Content With Sidebar Nav” module…
Section titled “21. Some, generally more complex, pages are built with the “Content With Sidebar Nav” module…”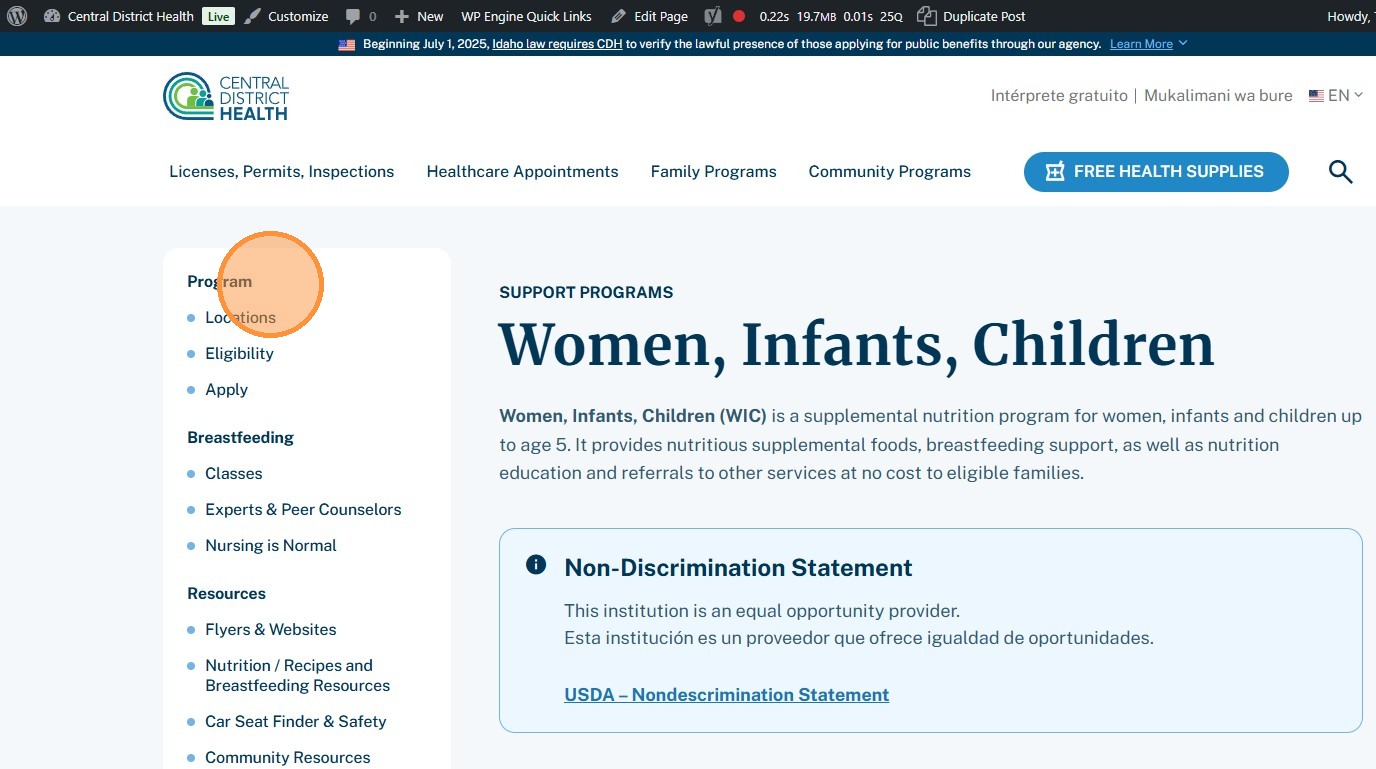
22. Like the “Sidebar Navigation Section” module, it’s added here on a Flexible Section page.
Section titled “22. Like the “Sidebar Navigation Section” module, it’s added here on a Flexible Section page.”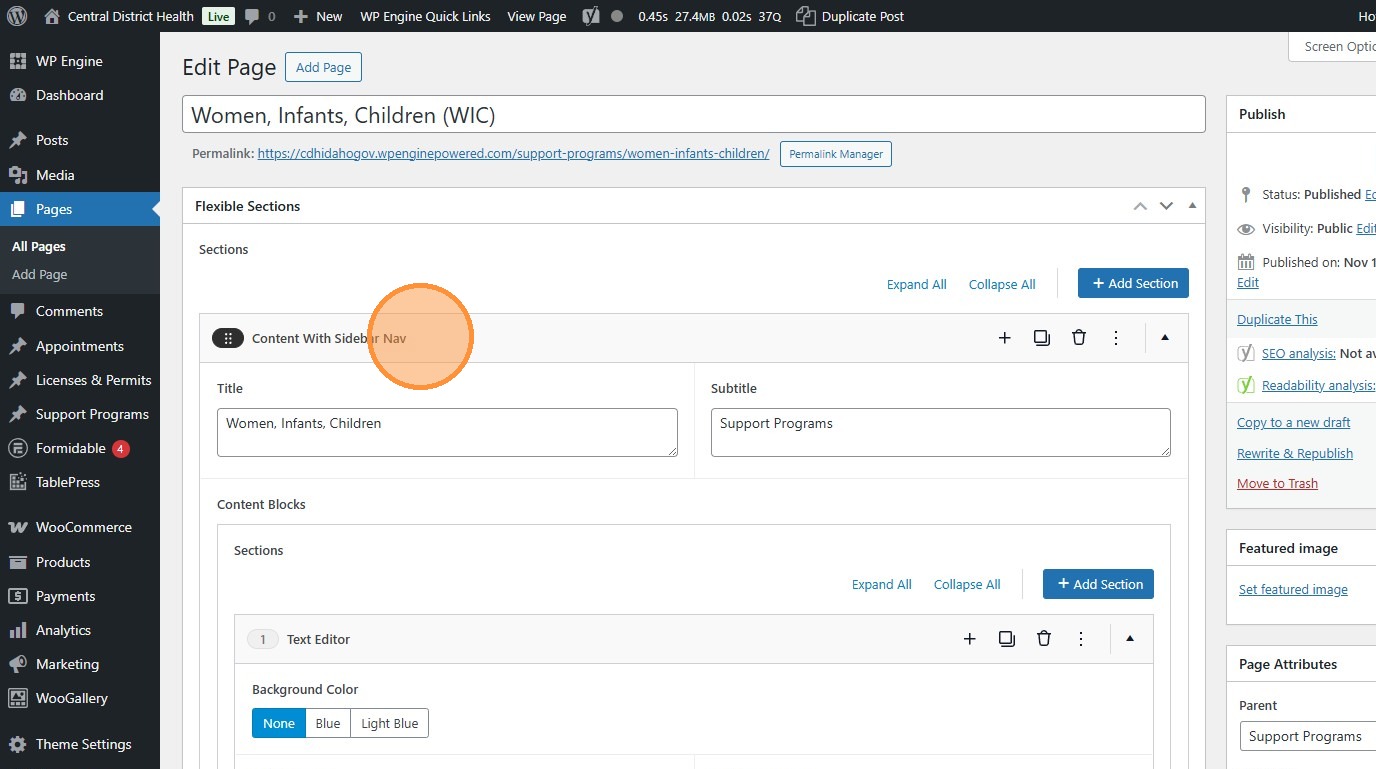
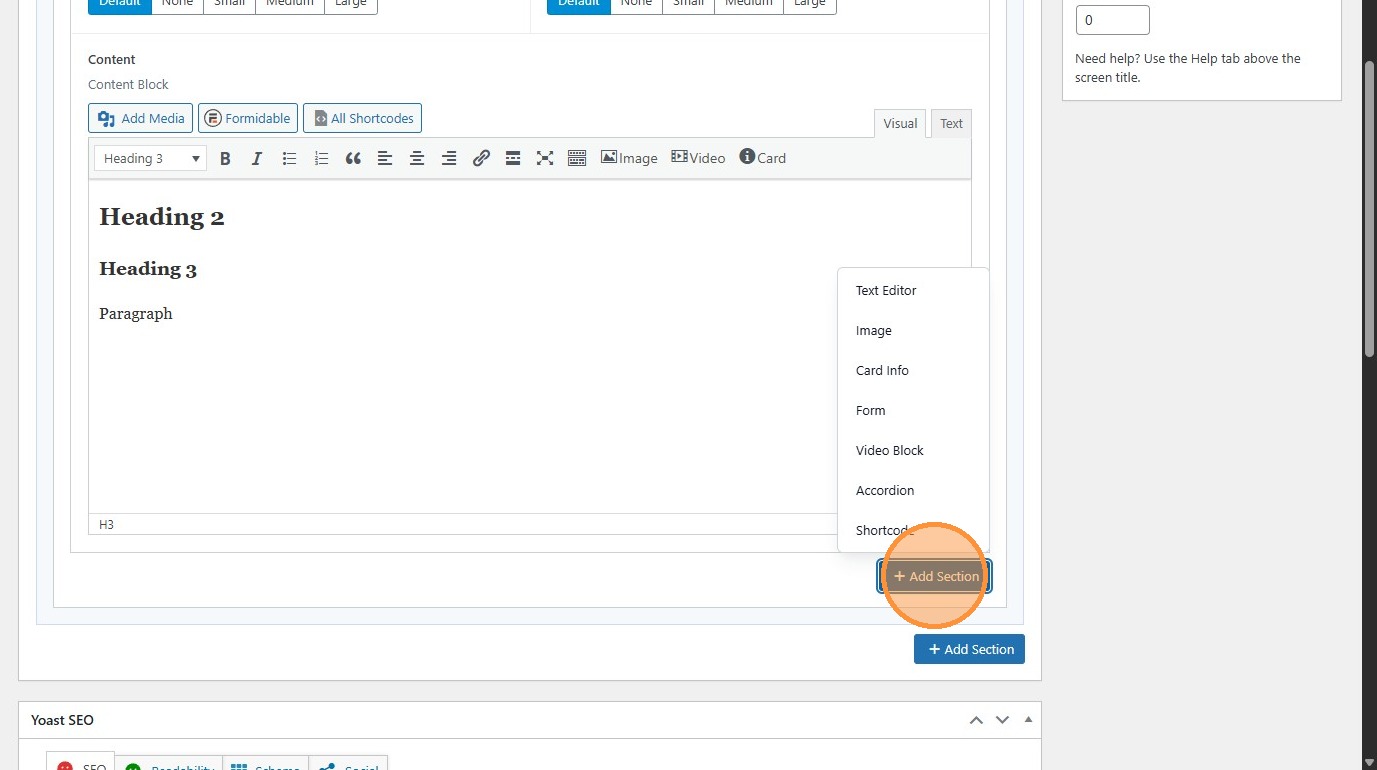
23. By default, it comes with a Title and Subtitle box.
Section titled “23. By default, it comes with a Title and Subtitle box.”Click “Add Section” to add another content block.
24. Most pages will start with a Text Editor section.
Section titled “24. Most pages will start with a Text Editor section.”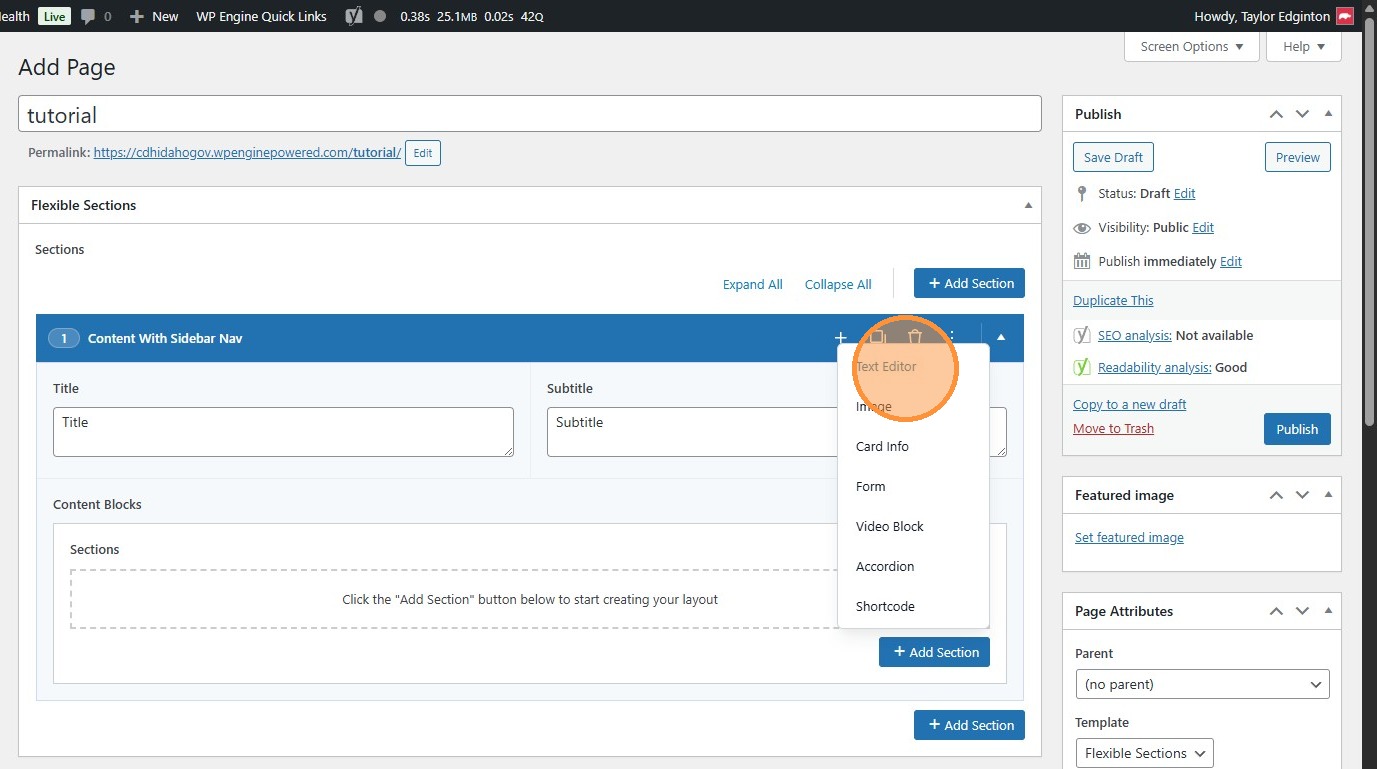
25. Creating bullets works slightly differently in this module. Here, it’s done via text in the Text Editor.
Section titled “25. Creating bullets works slightly differently in this module. Here, it’s done via text in the Text Editor.”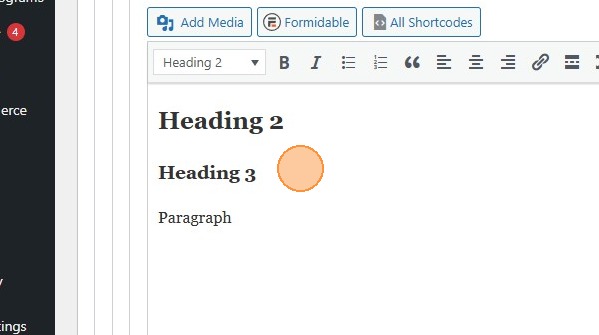
26. These will appear on the front end like this.
Section titled “26. These will appear on the front end like this.”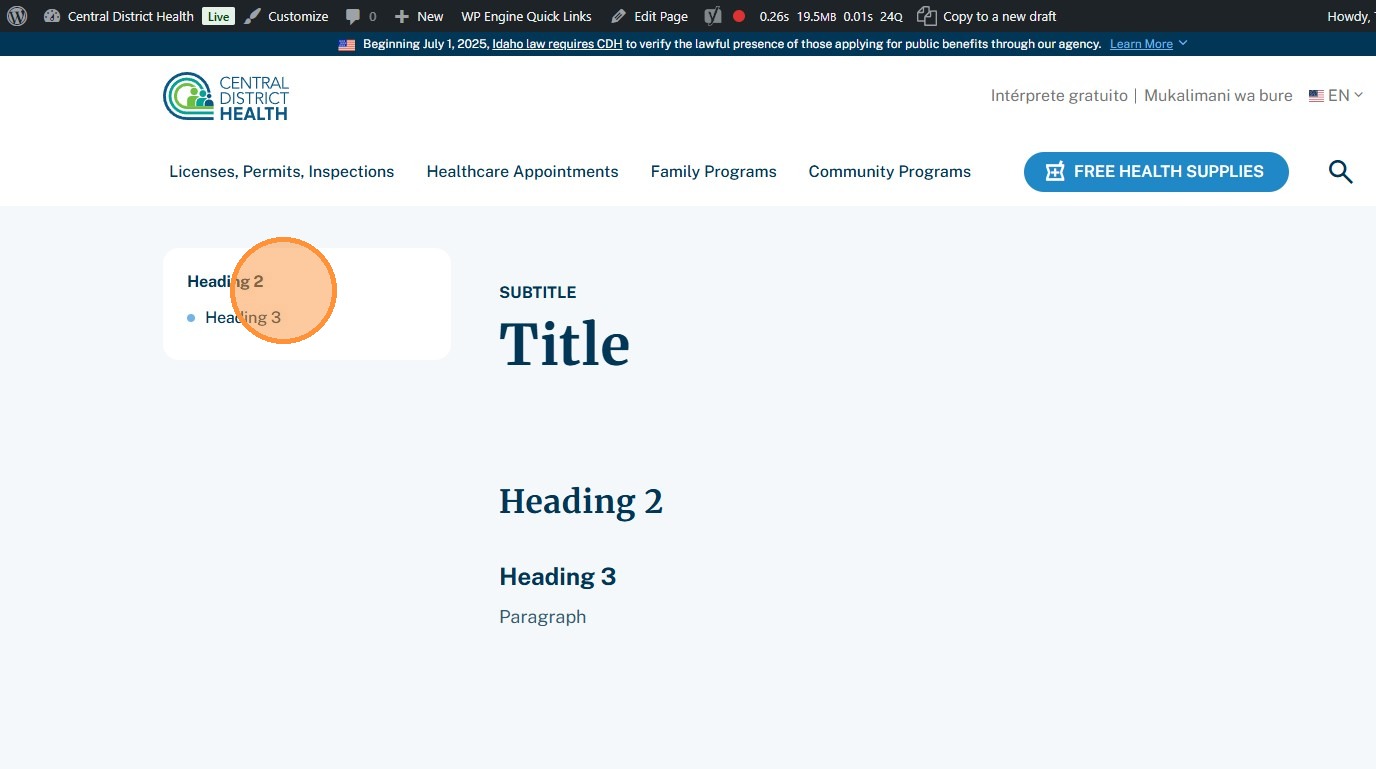
27. The other sections are used for other types of content.
Section titled “27. The other sections are used for other types of content.”They each come with Title boxes of their own that create a bullet in the sidebar.
Other Page Attributes
Section titled “Other Page Attributes”28. Click “Set featured image” to manually change the image that appears in search results and other summary placements.
Section titled “28. Click “Set featured image” to manually change the image that appears in search results and other summary placements.”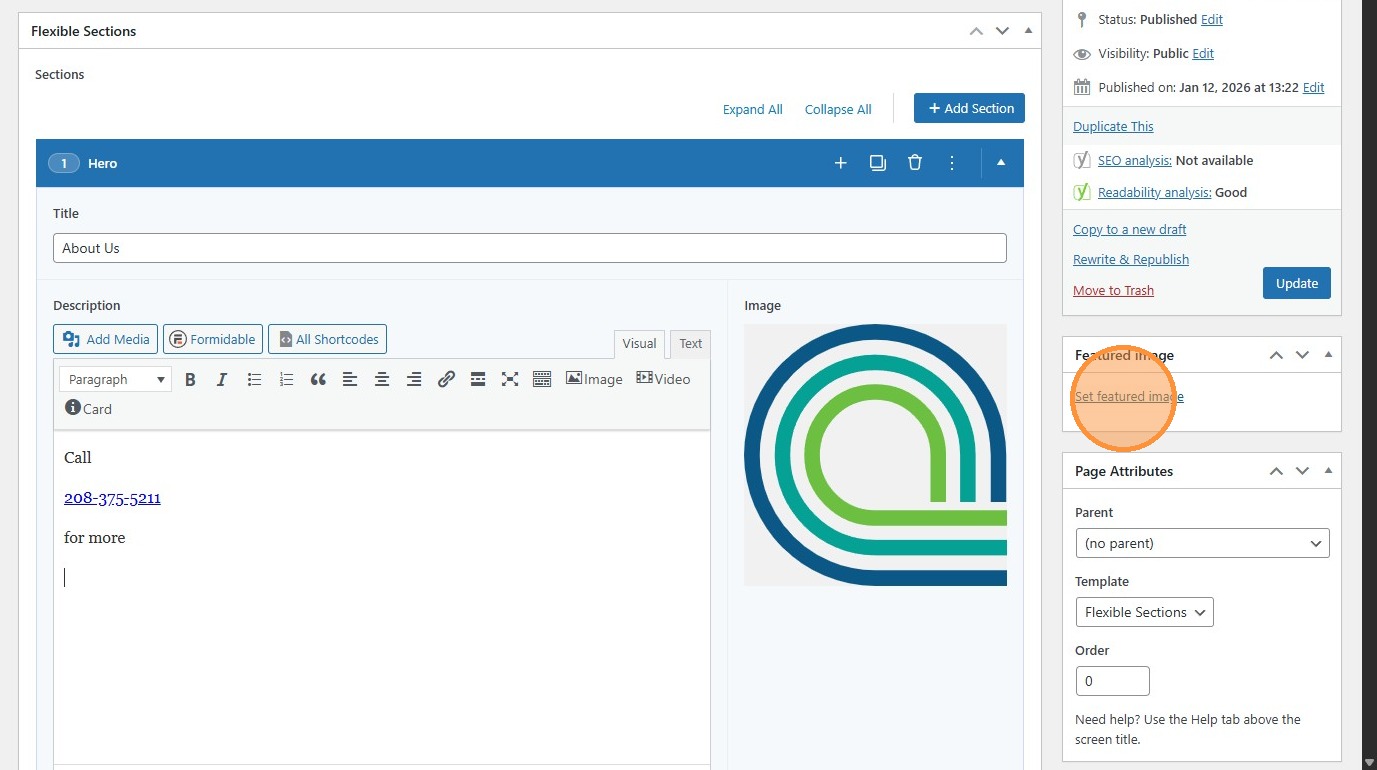
29. Use this text box to edit the page’s title.
Section titled “29. Use this text box to edit the page’s title.”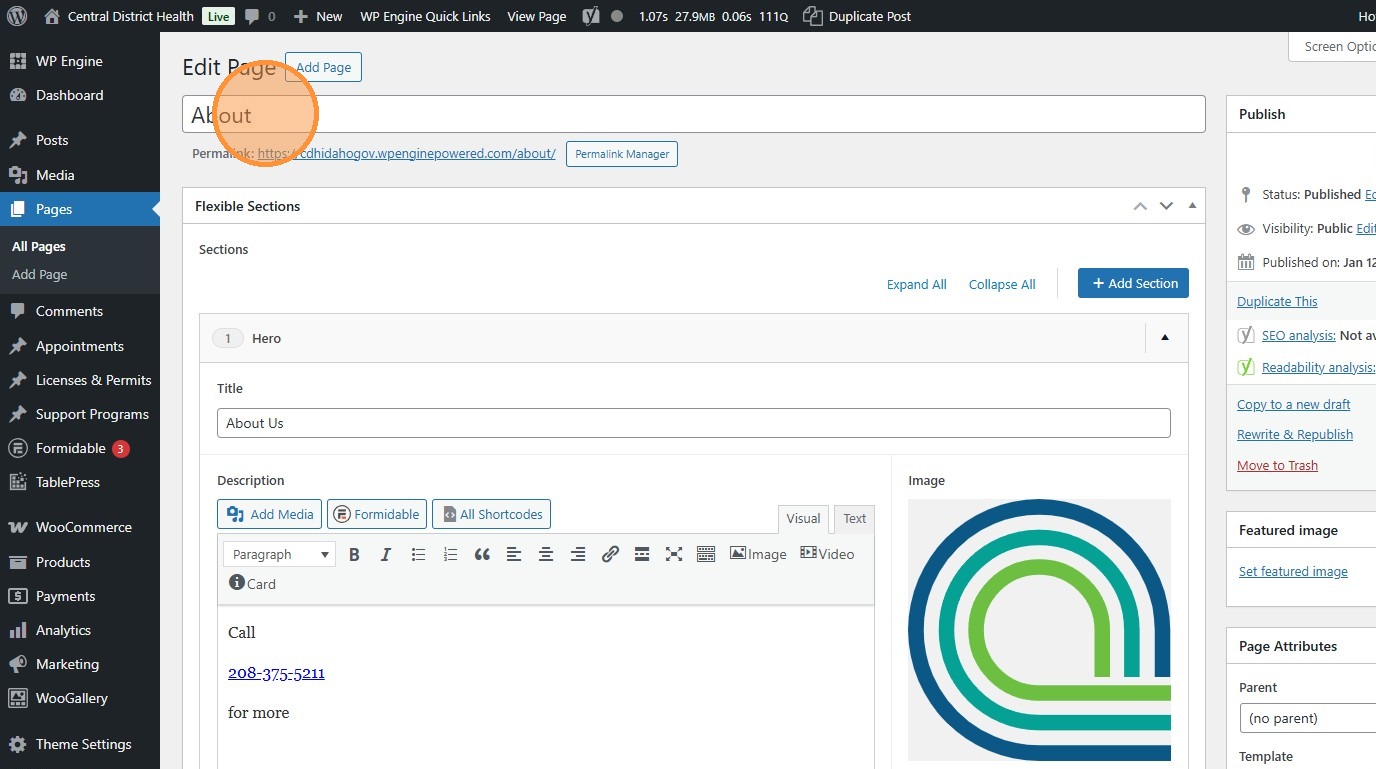
30. Click the “Permalink Manager” (or “Edit”) button to change the page’s URL.
Section titled “30. Click the “Permalink Manager” (or “Edit”) button to change the page’s URL.”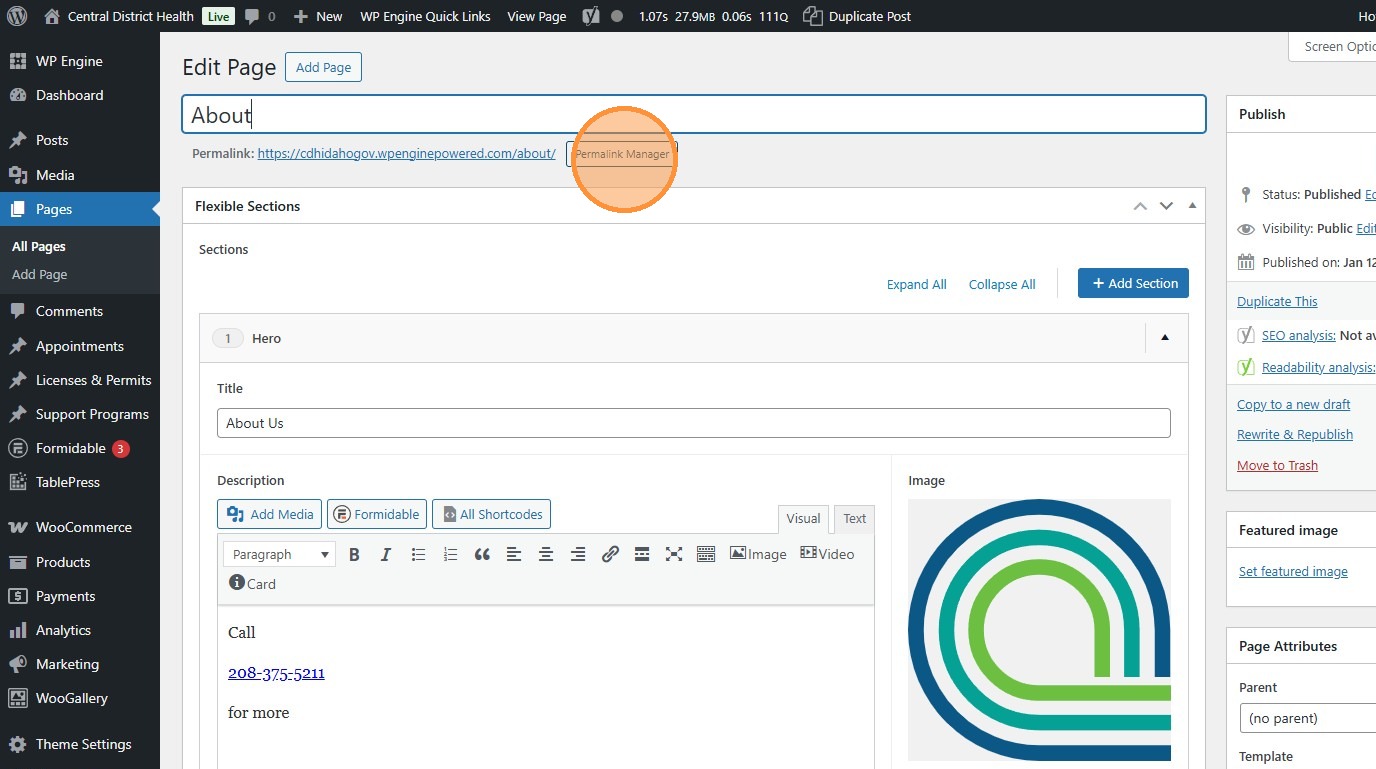
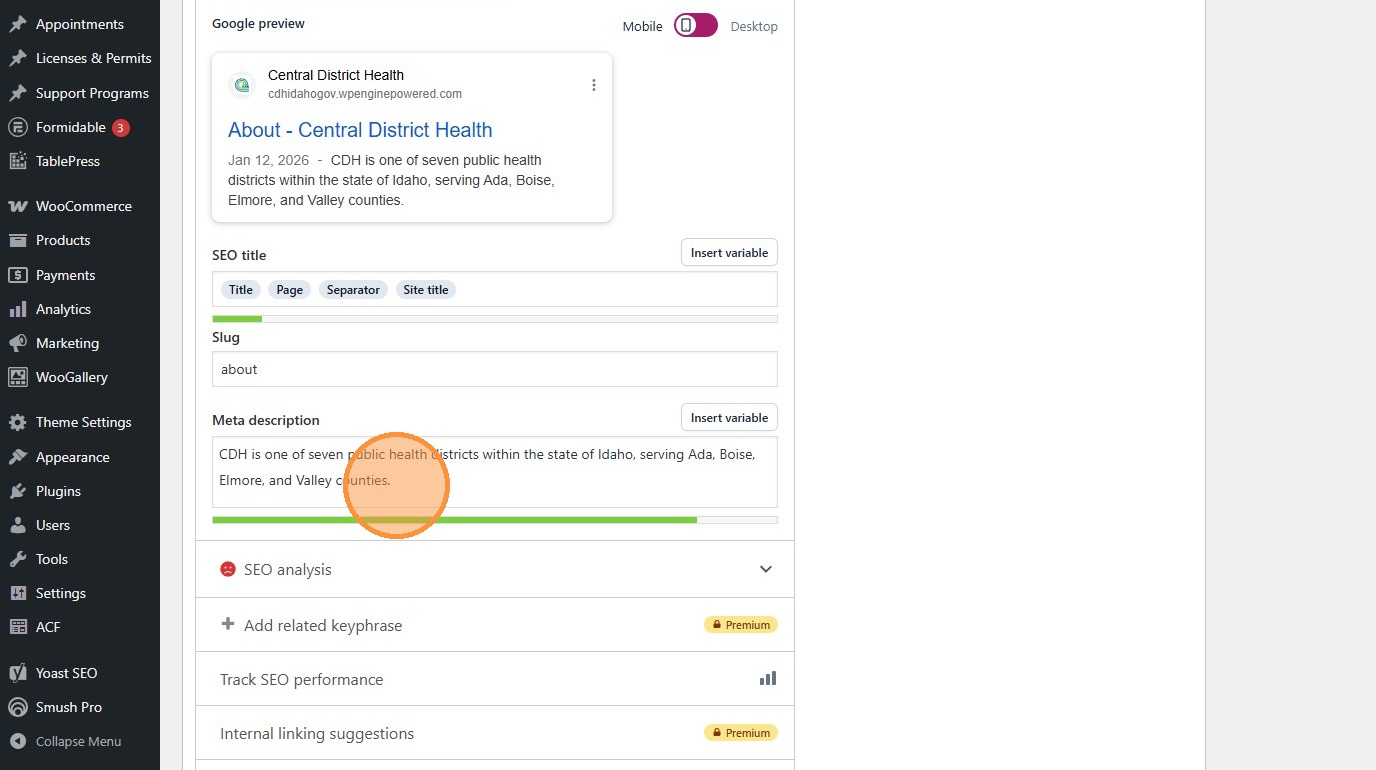
31. Way down at the bottom, each page is equipped with a Yoast module.
Section titled “31. Way down at the bottom, each page is equipped with a Yoast module.”This is where you can edit SEO-related page attributes such as the meta description, which is read by machines and shows underneath the page when it shows up on search engines.
32. Click “Preview Changes” (opens in a new tab) to see your changes before they’re official. The page must be saved as a draft or published to do this.
Section titled “32. Click “Preview Changes” (opens in a new tab) to see your changes before they’re official. The page must be saved as a draft or published to do this.”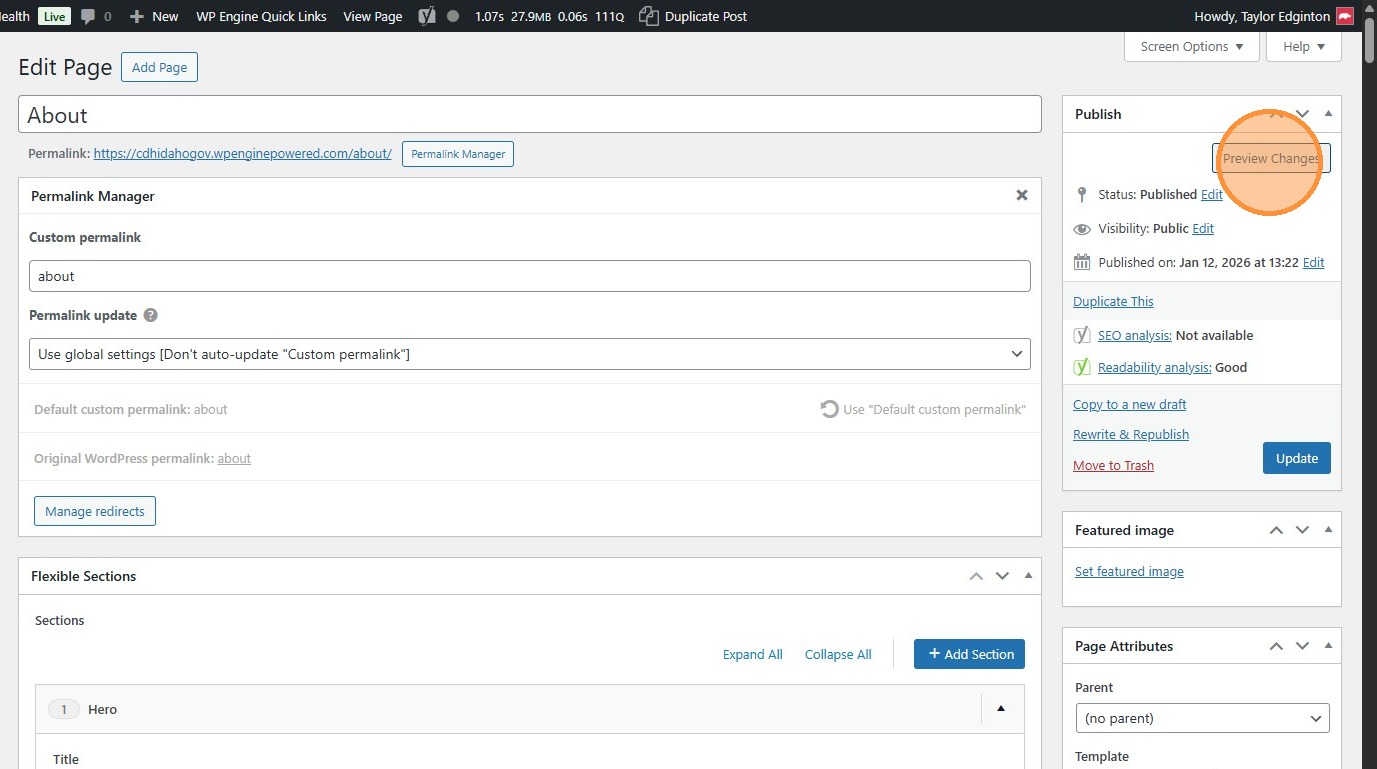
33. Click “Update” to publish changes to the live site.
Section titled “33. Click “Update” to publish changes to the live site.”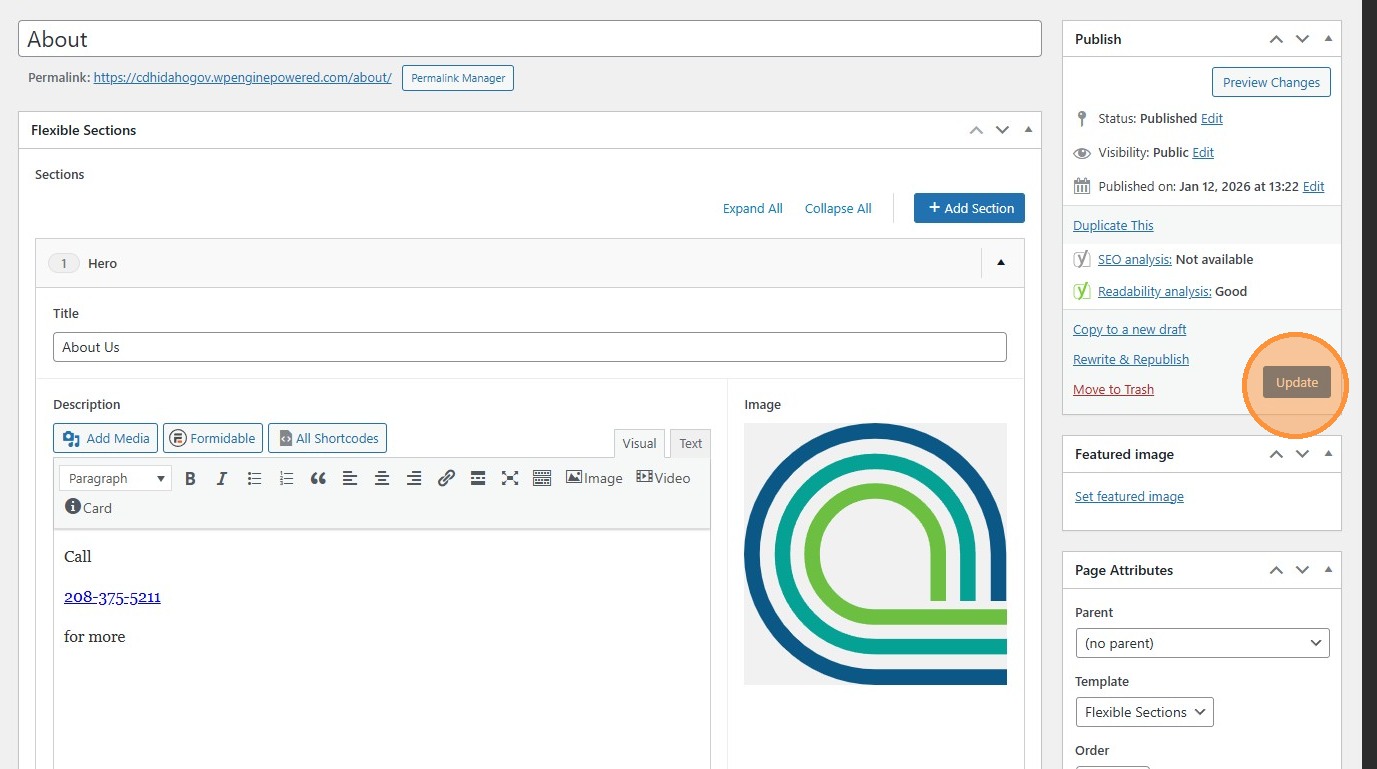
Appointments, Licenses & Permits, Support Programs
Section titled “Appointments, Licenses & Permits, Support Programs”34. Some information relating to pages is stored here, under Appointments, Licenses & Permits, or Support Programs, for organizational reasons.
Section titled “34. Some information relating to pages is stored here, under Appointments, Licenses & Permits, or Support Programs, for organizational reasons.”
35. They are how we organize the buttons under the header menus.
Section titled “35. They are how we organize the buttons under the header menus.”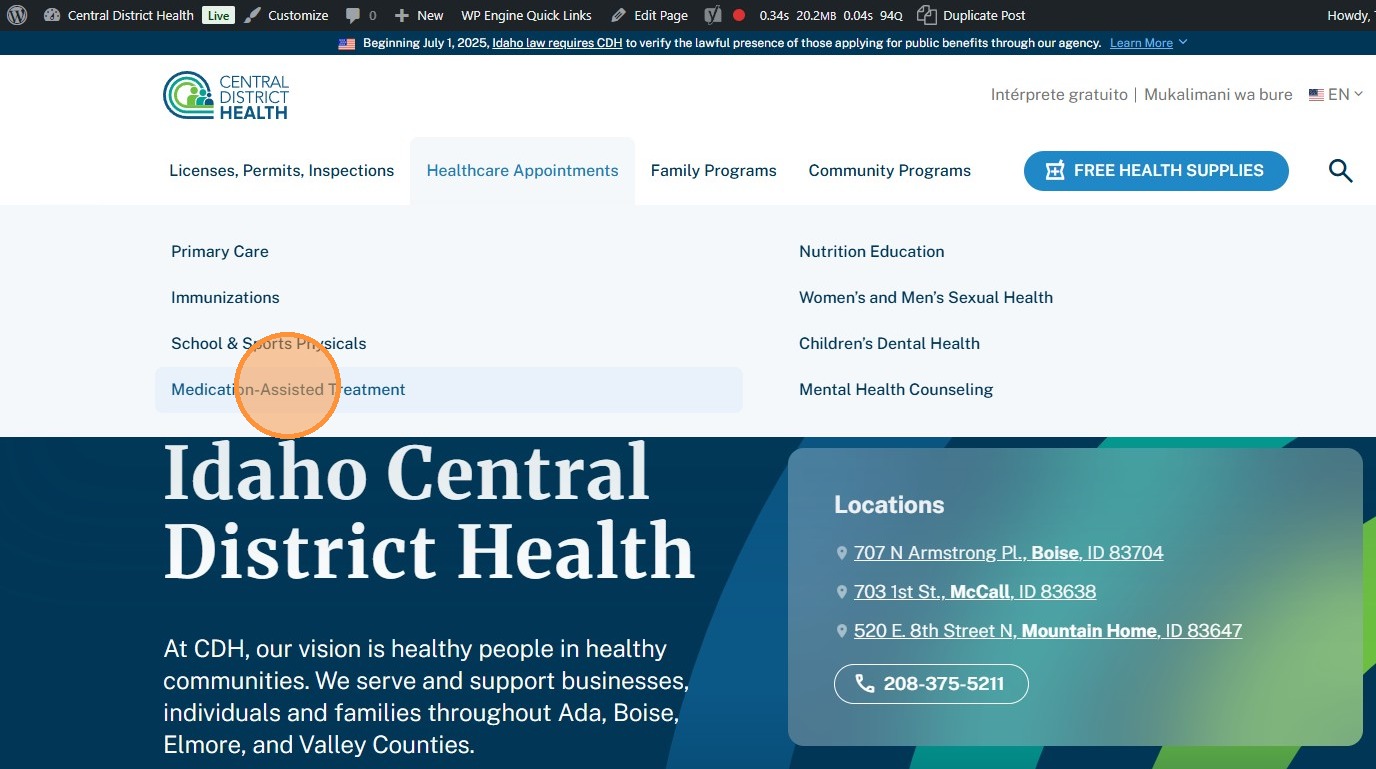
36. Click “Edit” to edit one’s details.
Section titled “36. Click “Edit” to edit one’s details.”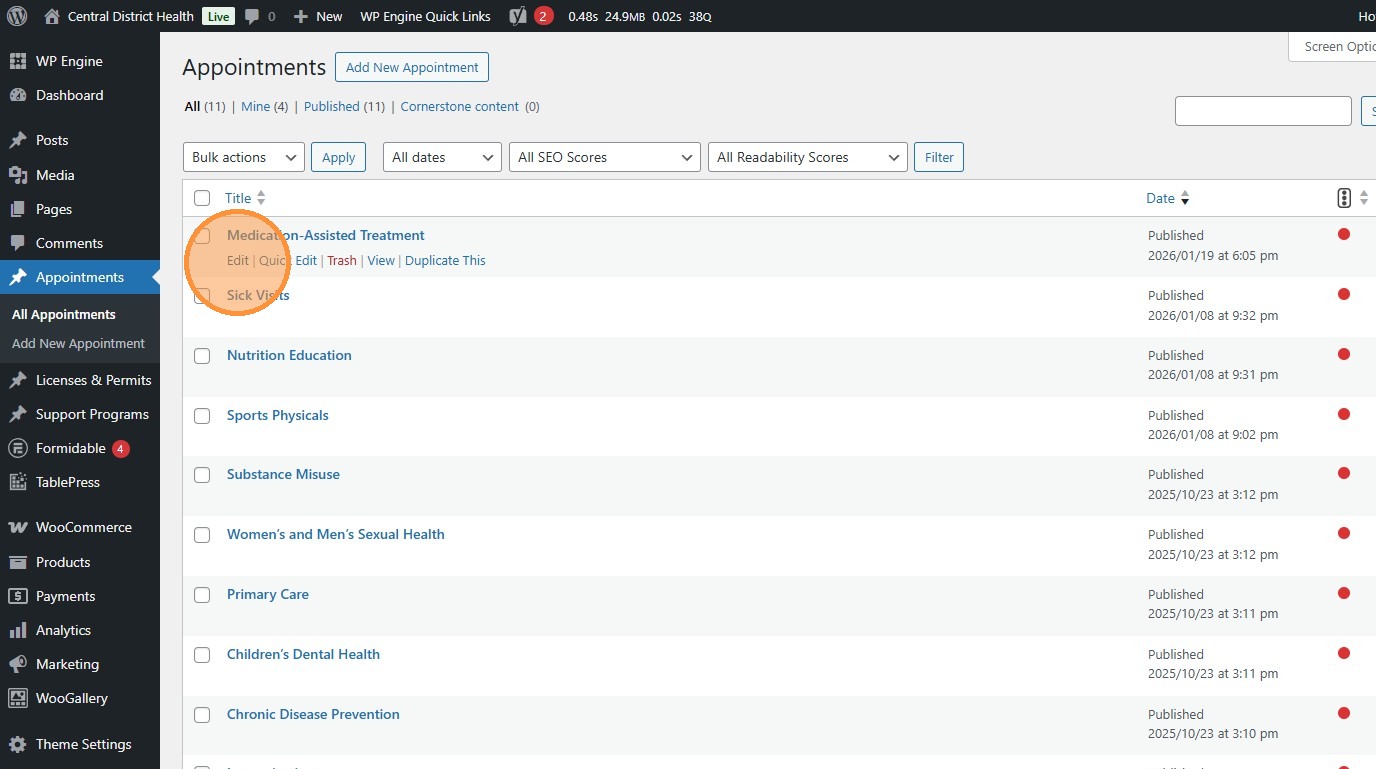
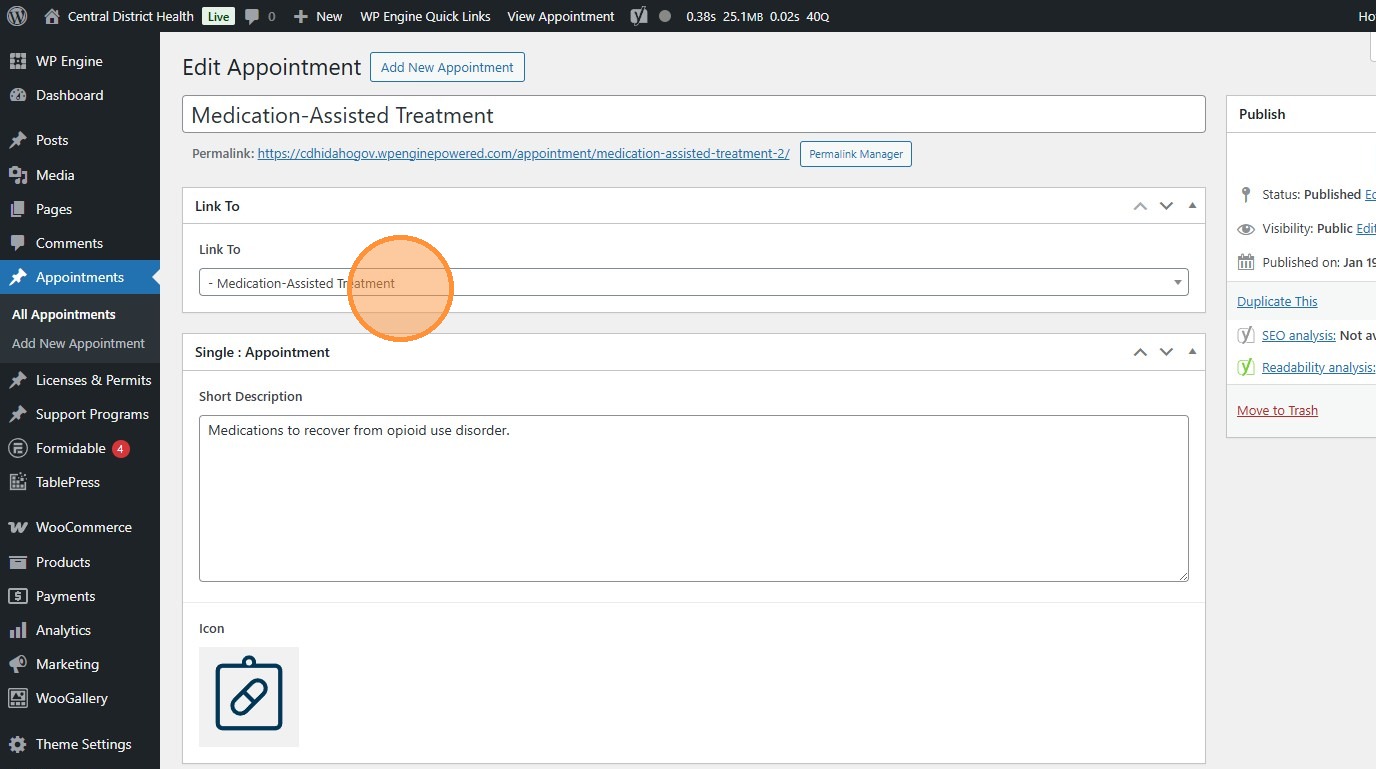
37. Use this dropdown to change which page the button links to.
Section titled “37. Use this dropdown to change which page the button links to.”Other information may appear elsewhere on the site. With this system, you can edit all instances where the button appears at once.
Tables (Tablepress)
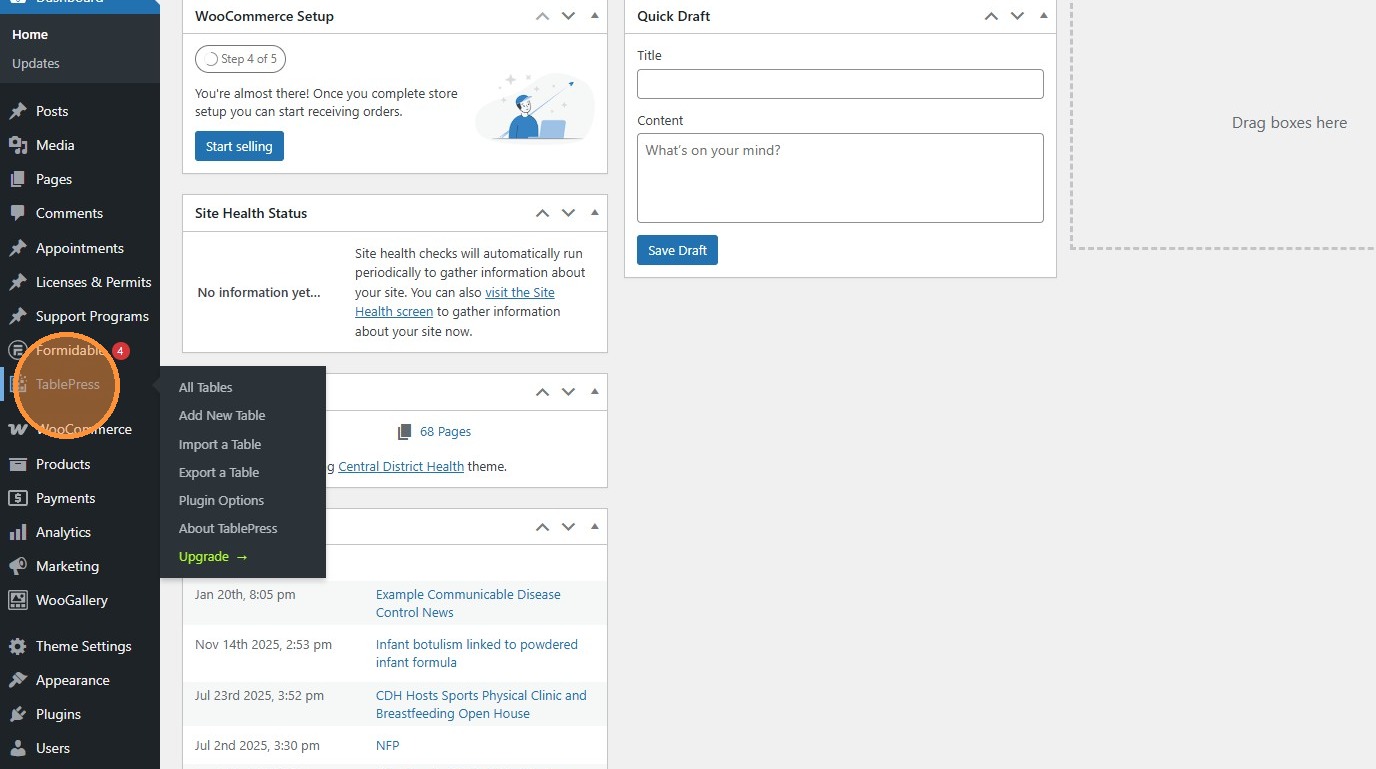
Section titled “Tables (Tablepress)”38. If you want to put a table on a page, you can do it with the Tablepress plugin.
Section titled “38. If you want to put a table on a page, you can do it with the Tablepress plugin.”Similar to the program information, we use this plugin to update information across all instances of a table on the whole site by editing it in one place.
39. Click “Add New” to create a new table…
Section titled “39. Click “Add New” to create a new table…”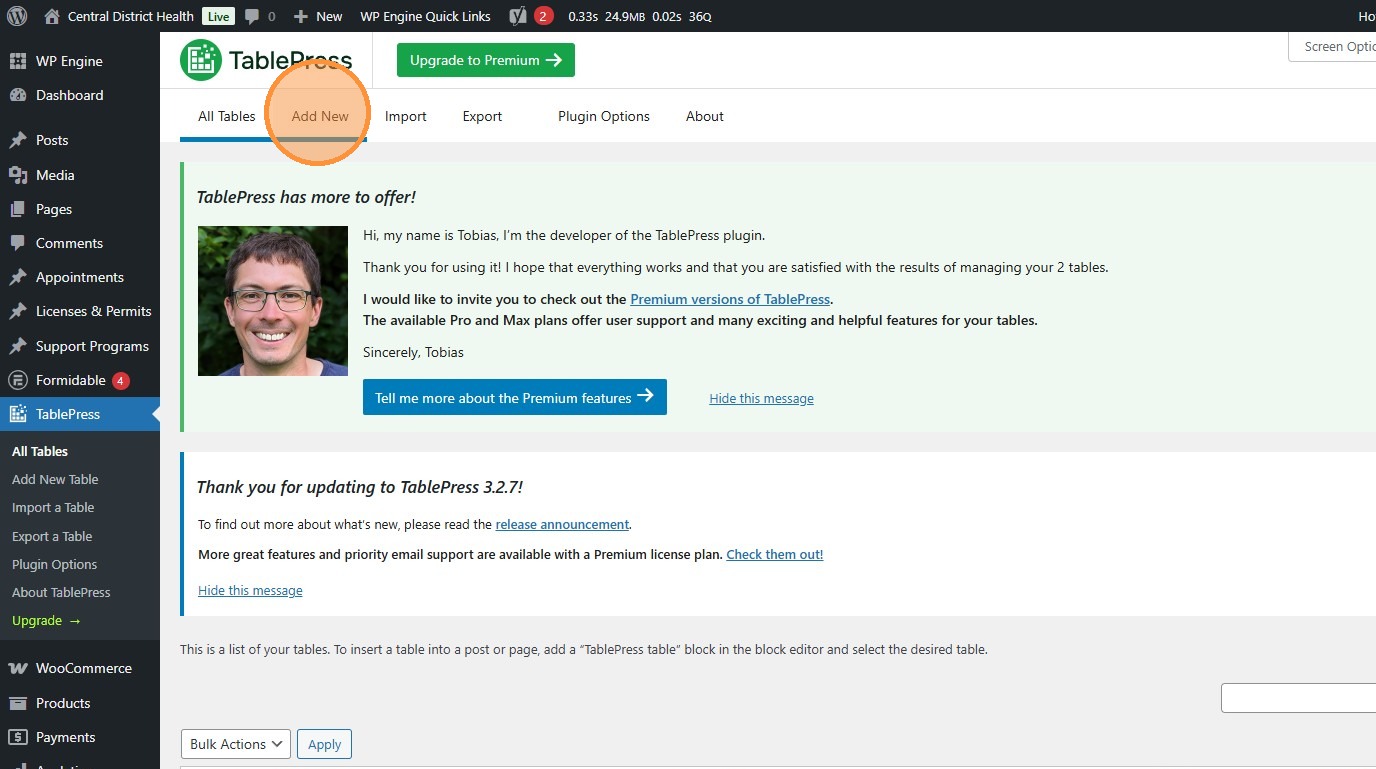
40. …or select an existing one in the “All Tables” tab and click “Edit”.
Section titled “40. …or select an existing one in the “All Tables” tab and click “Edit”.”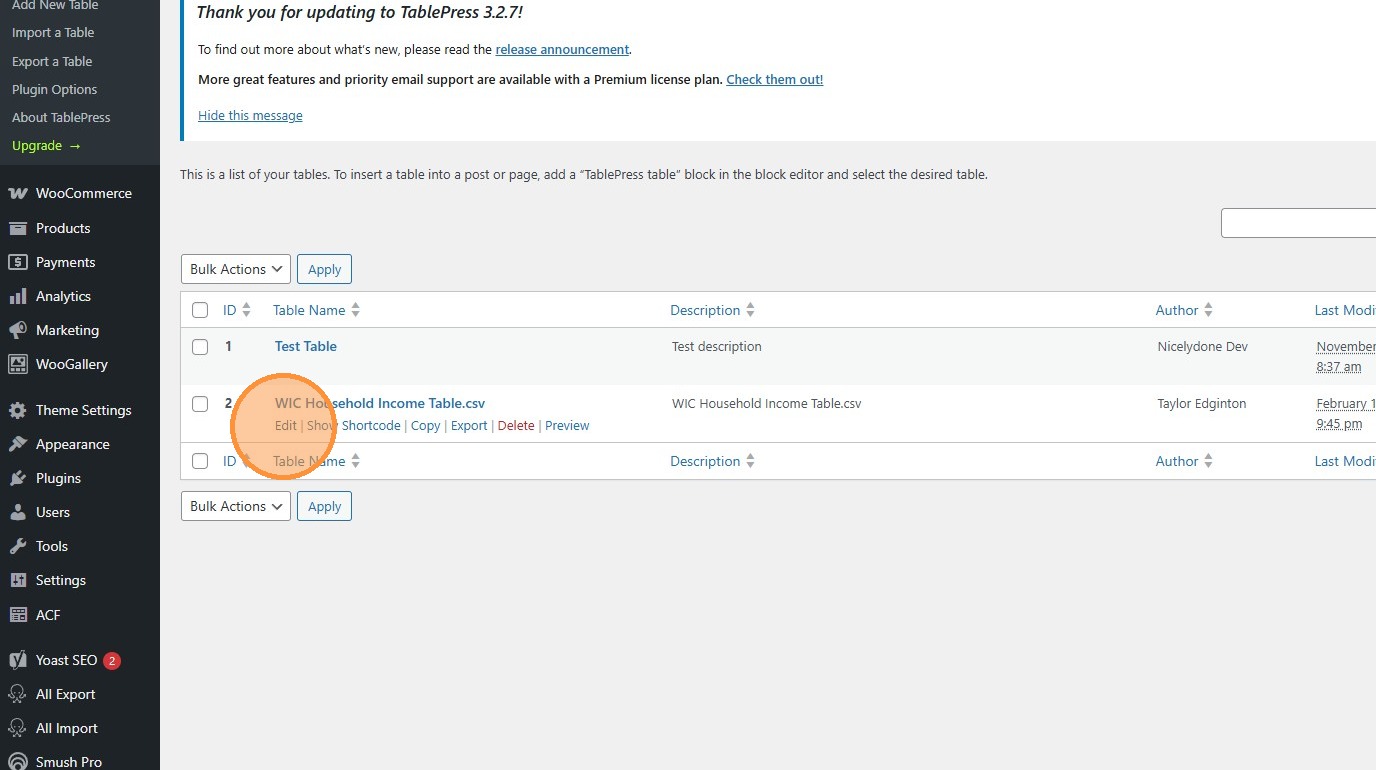
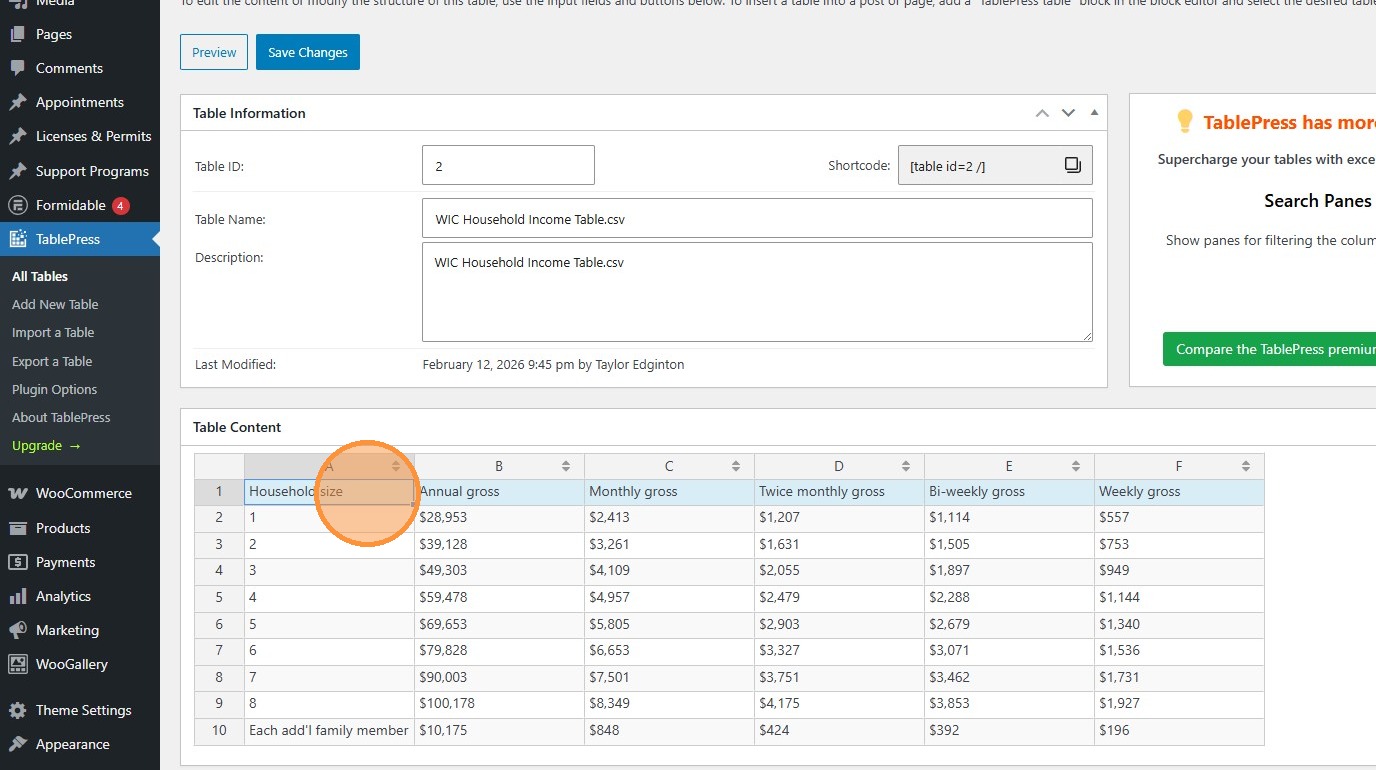
41. Edit the information here. This example is the table found on WIC’s program page.
Section titled “41. Edit the information here. This example is the table found on WIC’s program page.”Specific details on how editing tables works can be found in their documentation.
42. To place it on a page, click this icon to copy the “shortcode”. This is a small piece of code that can be placed in the text of a page or post so the system knows to reference this table.
Section titled “42. To place it on a page, click this icon to copy the “shortcode”. This is a small piece of code that can be placed in the text of a page or post so the system knows to reference this table.”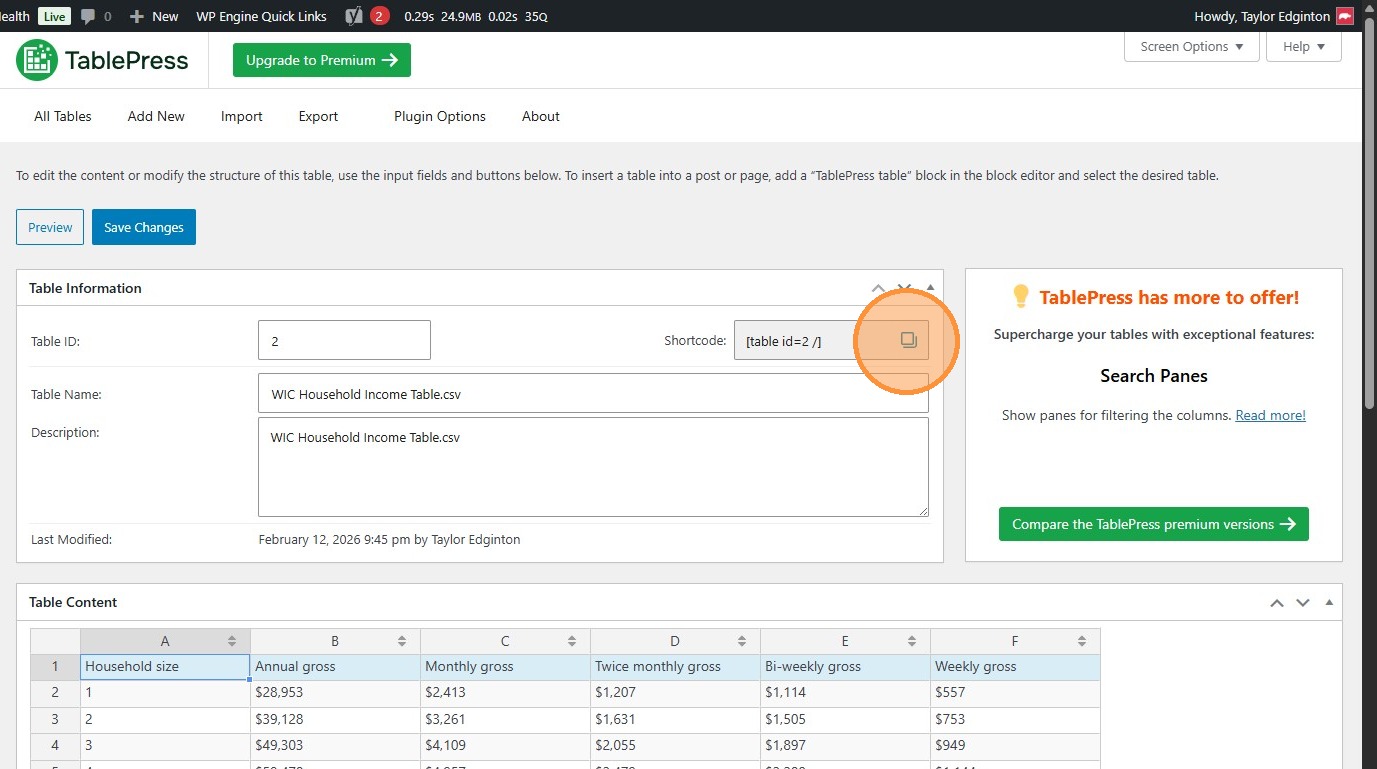
43. Paste it in the body of a page or post like so.
Section titled “43. Paste it in the body of a page or post like so.”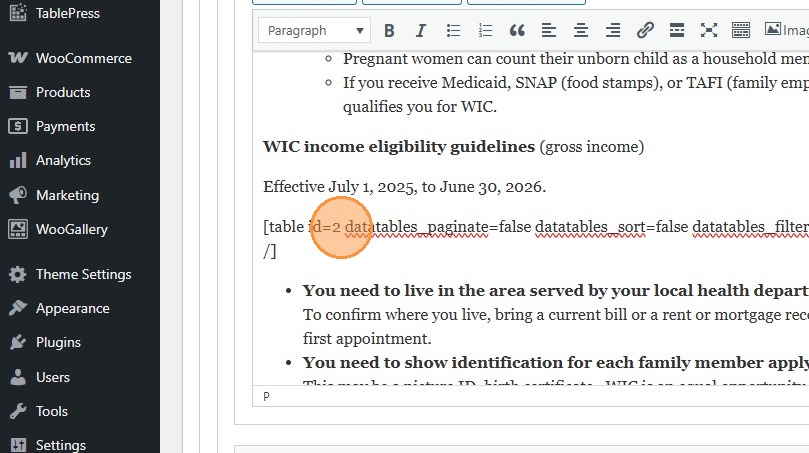
44. These attributes are telling the table to display exactly as-is, rather than allowing users to filter, etc.
Section titled “44. These attributes are telling the table to display exactly as-is, rather than allowing users to filter, etc.”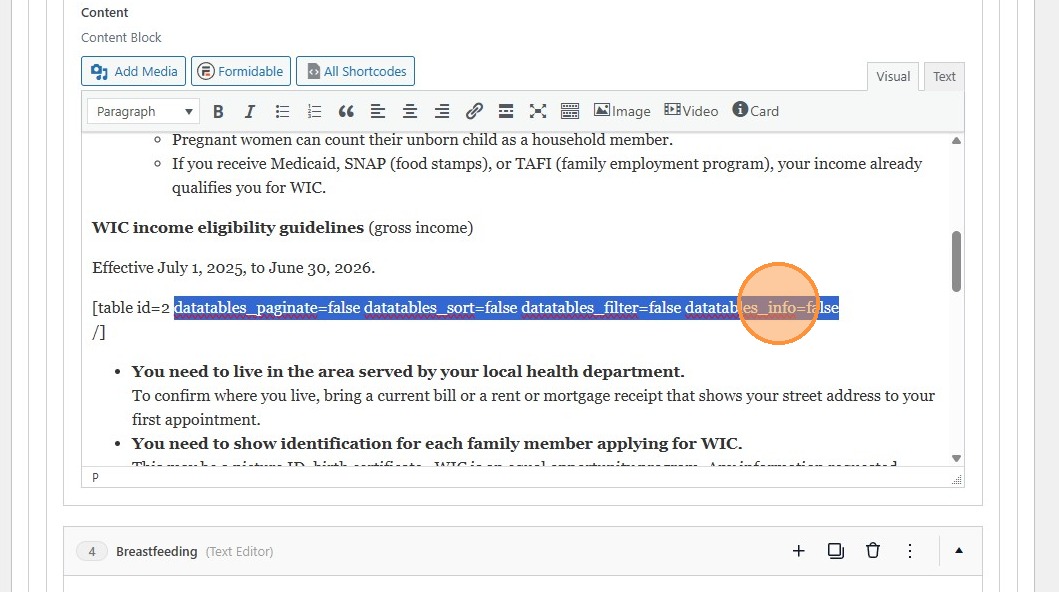
45. On the WIC page, this table appears like this: already formatted and ready to go.
Section titled “45. On the WIC page, this table appears like this: already formatted and ready to go.”